


To turn off water to a shower, locate and close the main water valve or the individual valves behind the shower. Then, confirm the water is off by running the shower.
Dealing with plumbing issues calls for practical know-how, especially when you need to halt water flow in your home. Shutting off the water to your shower is a fundamental task every homeowner should master for emergencies or when tackling repairs.
Getting to grips with your home’s plumbing layout pays off, especially when facing potential water damage or preparing to upgrade fixtures. Turning off the water supply is the crucial first step in many DIY projects, ensuring a safe and dry work space. Knowledge of your plumbing system allows you to quickly and confidently manage the situation without unnecessary stress or costly delays. Understanding the importance of this skill, we delve into the simple yet vital process of cutting off water to your shower—empowering you with the confidence to handle this aspect of home maintenance.

Credit: www.amazon.com
Identifying Your Shower Valve
Before you can turn off the water supply to your shower, it’s crucial to identify the type of valve that controls it. Knowing your valve type helps to locate the right shut-off approach, avoiding potential water damage during repairs or upgrades.
Locating The Access Panel
The first step in the process is finding the access panel. This panel usually sits on the wall behind your shower or in a nearby closet. Look for a small door or panel that can open to reveal the plumbing. Detecting this panel is key for accessing the water valve.
Types Of Shower Valves
There are several common shower valve types, and each might have a different method for shutting off the water:
- Single-handle: One knob controls both temperature and flow.
- Dual-handle: Separate knobs for hot and cold water.
- Thermostatic valve: Maintains your set temperature precisely.
- Pressure-balance valve: Prevents sudden temperature changes.
Identify your valve type to proceed with the correct shut-off technique. Always double-check to ensure you have found the right valve before attempting to turn off the water supply to your shower.
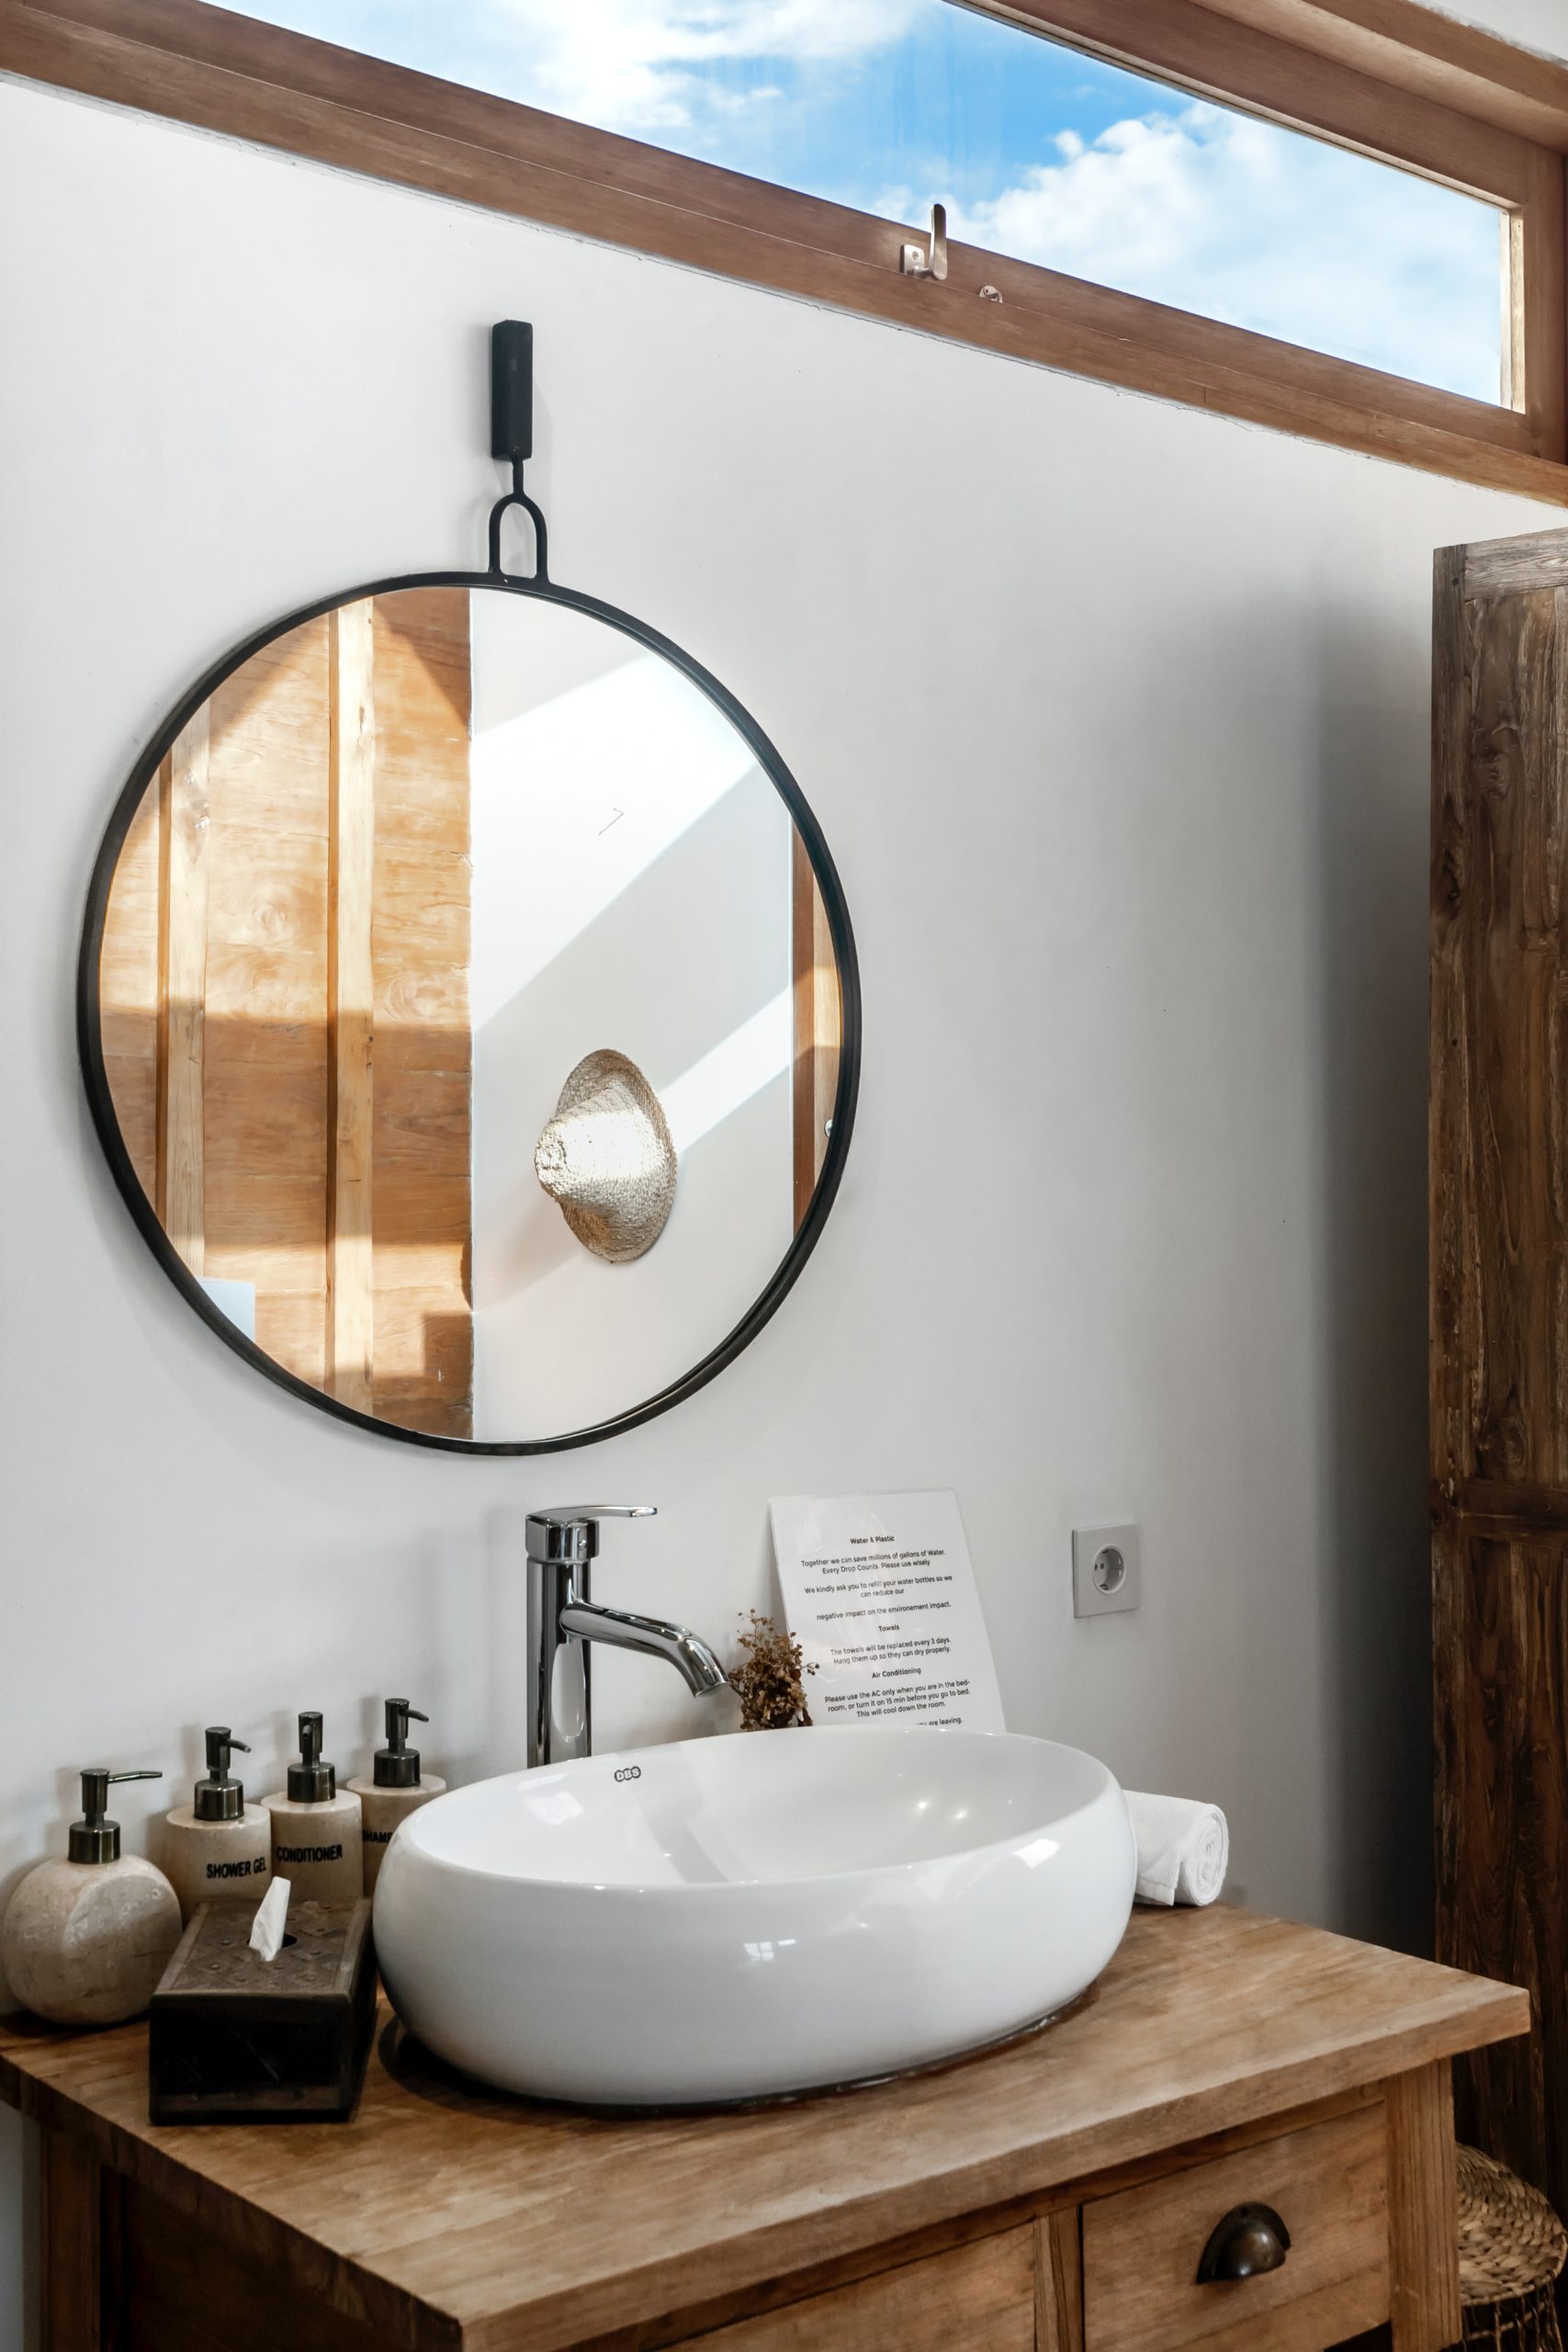
Credit: www.debowsky.com
Main Water Shut-off
Working with home plumbing might seem daunting, but learning how to turn off water to your shower starts with a simple yet crucial step: locating and operating your home’s main water shut-off valve. Whether you’re tackling repairs, maintenance, or facing an emergency, knowing how to handle this valve is essential.
Finding The Main Valve
Your search for the main valve should start at the water meter. This is usually on the home’s exterior, at the front or side. Inside, the main valve could be near the appliance. Look for a large valve or a wheel.
- Basements or crawl spaces: Check near the front foundation wall.
- Utility area: Often near the water heater or furnace.
- Garage: Typically, at the front, on the wall facing the street.
If you live in a colder climate, your main valve might be indoors to prevent freezing. In milder climates, it might be outside.
Turning Off Water Supply
Once you find the valve, turn the handle or wheel clockwise to stop the water flow. Ball valves require a quarter turn until it’s perpendicular to the pipe.
Here’s a step-by-step guide:
- Locate the main water shut-off valve.
- If it’s a wheel, turn it right (clockwise) until it stops.
- For ball valves, turn the lever 90 degrees.
- Check faucets to ensure the water supply stops.
- Proceed with shower repairs or maintenance.
Always turn the valve gently to avoid damage. If it’s stuck, use a wrench carefully. After repairs, turn the valve left (counterclockwise) to restore water.
Isolating The Shower Supply
Isolating the Shower Supply is a key step in shower maintenance or repair. Knowing how to cut off the water can prevent leaks and water damage. This guide makes turning off the water to your shower simple.
Using Inline Valves
Inline valves offer a straightforward method for shutting off water. They are typically located behind the shower’s access panel. Follow these steps:
- Locate the access panel, often on the wall behind your shower.
- Open the panel to reveal the inline valves.
- Turn the valves clockwise to stop the flow of water.
Always check for leaks after turning the valves.
When There Are No Inline Valves
Not all showers have individual valves. In such cases:
- Find the main water shut-off valve for your home.
- It’s usually located near the water meter.
- Turn the main valve clockwise until the water stops.
Keep in mind, this will stop water flow to the entire house.
Safety Precautions
Safety Precautions before turning off water to your shower will protect your home and health. Tackling plumbing tasks requires careful planning. Keep property damage and personal injury at bay with the right steps.
Before You Begin
Start by gathering necessary tools and understanding your home’s plumbing layout. Confirm you have access to the main water shut-off valve. Wear protective gear like gloves and eyewear to shield against unexpected water spurts or debris.
- Locate your shut-off valve: Usually found in the basement or outside the house.
- Inform household members: Let everyone know you’ll cut off the water supply temporarily.
- Gather tools: Adjustable wrenches and water pump pliers often come in handy.
- Wear protective clothing: Safety glasses and gloves will prevent injuries.
Preventing Water Damage
Drops of water may seem harmless, but they can cause serious damage. Avoid costly repairs with these protective measures.
- Clear the work area: Ensure no electrical devices or valuables are near where you’ll work.
- Shut off main valve slowly: Turning it too fast might damage the plumbing.
- Test faucets: Open other taps to drain leftover water from the pipes.
- Check for leaks: After the job’s done, inspect for any signs of water damage or dripping.
Restoring Water Supply
Successfully shutting off the water to your shower is only half the battle. Now, it’s time to carefully restore the water supply. It’s vital to proceed with caution to avoid any sudden leaks or water damage. Let’s guide you through this process with a step-by-step approach.
Checking For Leaks
Before anything else, it’s crucial to check for potential leaks. Following these simple steps can save you from future headaches:
- Inspect all connections around the shower valve.
- Look for any signs of moisture or drips.
- Use a dry cloth to wipe and check for wetness.
If everything is dry, you’re ready to move on. A leak-free zone is your goal here. Should you detect any moisture, address it promptly before proceeding.
Turning Water Back On
With no leaks found, you’re set to turn the water back on. Follow these steps carefully:
- Locate your main water valve.
- Turn the valve slowly to prevent any pressure surges.
- Open the valve until you hear water flowing through the pipes.
Watch closely for any unusual sounds or water seepage. If all seems well, your shower should now be operational again. Enjoy the satisfaction of a job well done!
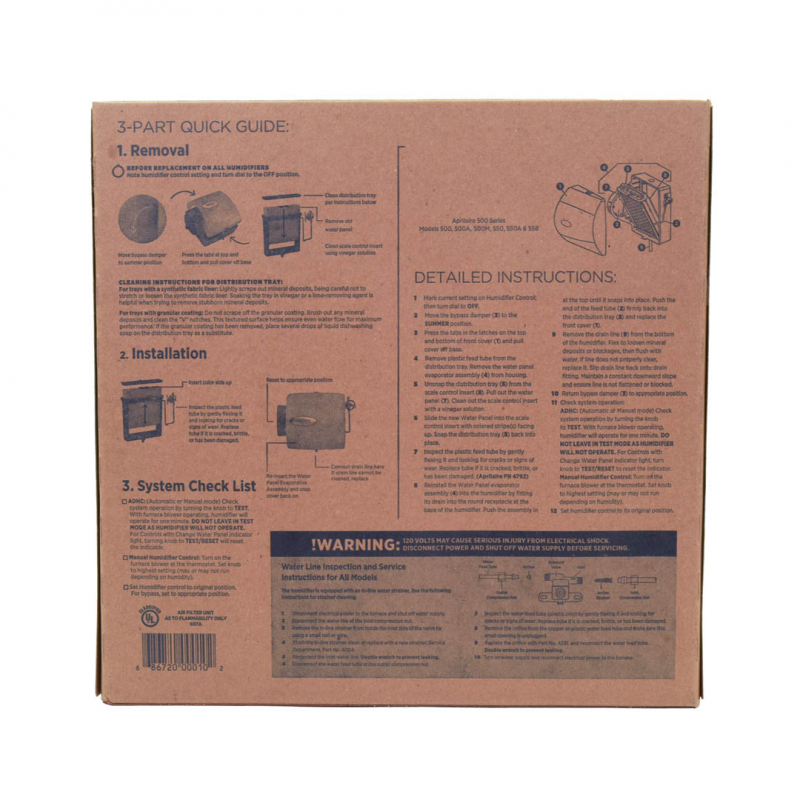
Credit: www.filteroutlet.com
Frequently Asked Questions On How To Turn Off Water To Shower
How To Locate Shower Water Shut-off Valves?
To turn off the water to your shower, locate the shut-off valves. Often, they’re behind an access panel near the shower. If not there, check your home’s main water shut-off valve.
Can I Turn Off Water To Shower Only?
Yes, you can turn off the water to just the shower if it has dedicated shut-off valves. Otherwise, you’ll need to use the main house valve.
What Tools Do I Need To Turn Off Shower Water?
Usually, no tools are needed as shut-off valves can be turned by hand. However, for some valves, you might need a wrench or a screwdriver.
Will Turning Off the Water Affect Other Fixtures?
If you use the shower’s dedicated shut-off valves, it won’t affect other fixtures. Using the main water valve will stop the water to the entire home.
Conclusion
Turning off the water to your shower can be simple with the right know-how. By following the steps outlined, you’ll prevent potential leaks and save on costly repairs. Remember, regular maintenance keeps your plumbing in top shape. Feel confident in tackling this task and enjoy a well-maintained bathroom.


