


Tile a shower niche without bullnose by using a tile edge trim or mitering the tile edges for a clean finish. Opt for stone or porcelain tile to achieve a seamless look without bullnose pieces.
Tiling a shower niche adds both functionality and an aesthetic appeal to any bathroom. Choosing the right materials and approach can transform a shower into a sleek and modern space, even when bullnose trim isn’t part of the design. A well-tiled niche provides a convenient spot for bathing essentials while enhancing the overall shower design.
It’s crucial that the tiling process is done with precision to ensure water resistance and durability. This tiling technique not only elevates the niche’s appearance but also maintains the structural integrity of the shower’s wet environment. A niche without bullnose edges gives the shower a sharp, contemporary look that can be the highlight of a bathroom renovation.
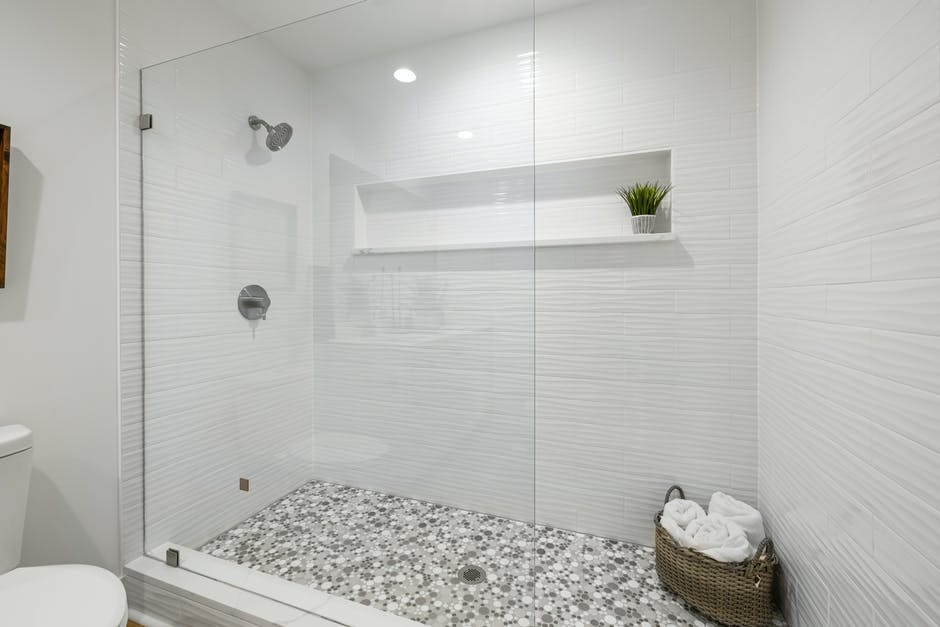
Credit: www.rubi.com
Introduction To Tiling Shower Niche
Welcome to our guide on tiling a shower niche without bullnose tiles!
Tiling a shower niche expertly can uplift your bathroom’s aesthetics.
This task can seem daunting, especially without traditional bullnose tiles.
Importance Of A Well-tiled Niche
A well-tiled shower niche serves both function and form.
It holds your essentials and adds to your bathroom’s overall look.
Using the right tiling technique ensures endurance and beauty.
Aesthetic coherence in your shower can be achieved with a careful tiling job.
Challenges Without Bullnose
Facing edges help finish a tiling project smoothly.
Without bullnose, raw tile edges can pose a challenge.
- Matching the tile’s body becomes trickier without rounded edges.
- Ensuring waterproofing and durability can be complex.
- Getting that clean, professional look requires more skill.
Follow our guide to overcome these obstacles and achieve a flawless shower niche!
Essential Tools And Materials
Preparing for your shower niche tiling project starts with gathering the right tools and materials. Before you dive into the intricacies of tiling without bullnose edges, make sure you have all the necessary items. Doing so ensures a smooth installation process and a professional-looking finish. The following sections detail precisely what you’ll need.
Selecting The Right Tiles
Choosing tiles for your shower niche is crucial. You want tiles that not only match your bathroom’s aesthetic but also can withstand moist conditions. Consider porcelain or ceramic tiles as they resist moisture and are durable. Here’s what to look for:
- Glazed edges for a clean finish without bullnose
- Size that fits your niche without too many cuts
- Colors and patterns that complement your space
Measure your niche and calculate how many tiles you’ll need. Always buy extra for mistakes or future repairs.
Adhesive, Grout, And Sealants
Proper adhesives and sealants are vital for a long-lasting hold in wet conditions. Find a waterproof tile adhesive designed for bathrooms. You’ll need the following:
| Type | Application | Key Feature |
|---|---|---|
| Adhesive | Tile attachment | Waterproof |
| Grout | Filling gaps | Mold-resistant |
| Sealant | Edge protection | Clear, waterproof |
For grouting, choose a color that blends in or contrasts, depending on your preference. Seal all edges well to prevent water damage. Don’t forget tools like a notched trowel for adhesive application, grout float, and caulk gun for sealant.
Now that you know what tools and materials you need, you’re ready to tackle your shower niche tiling project. Proper preparation will lead to a beautiful and durable result!
Measuring And Planning
When preparing to tile a shower niche without bullnose, proper measuring and planning are key steps. This phase sets the project up for success, ensuring a sleek and professional finish. Let’s start by assessing the space available and sketching out the tiling layout.
Assessing Space Requirements
To start, measure the shower niche’s height, width, and depth. Write these dimensions down. Consider the tile size you will use. Think about the need for cuts. Plan to use whole tiles in visible areas for a neat look.
- Height: Measure from top to bottom.
- Width: Measure from side to side.
- Depth: Measure from front to back.
Creating A Tiling Layout
Drawing a tiling layout is essential before cutting any tiles. Use graph paper to mirror your niche’s dimensions. Draw each tile to scale. This visual guide will help foresee pattern and placement. Make sure to account for grout lines; they impact the overall design.
| Row | Full Tiles | Cut Tiles | Grout Line Width |
|---|---|---|---|
| 1 | 3 | 2 (halves) | 1/8″ |
| 2 | 4 | 0 | 1/8″ |
Tile Cutting Techniques
Creating a sleek shower niche without a bullnose tile requires precision. Tile cutting techniques vary, but the right method gives your project a professional finish. Learn the tricks to make straight and corner cuts on your shower tiles.
Straight Cuts For A Professional Look
Making straight cuts is essential for fitting tiles within the niche. Begin with a high-quality tile cutter. Use a pencil and a square to mark your line. Apply even pressure and snap the tile for a clean break. Practice on spare tiles to hone your technique.
- Measure twice, cut once.
- Use a wet saw for harder tiles.
- Smooth edges with a rubbing stone.
Corner Cuts For A Seamless Transition
Corner cuts allow tiles to meet neatly in the niche. Measure the needed angle, then score the tile. Cut slowly to prevent chipping. Diamond-tipped blades offer the precision required. Sanding the edges ensures tiles fit perfectly.
| Step | Tool | Action |
|---|---|---|
| 1. Measure and mark | Pencil, square | Draw the cut line |
| 2. Cut | Tile saw | Saw along the line |
| 3. Smooth | Rubbing stone | Smooth the edges |
Edge Treatment Alternatives
Creating a sleek and professional look for your shower niche without bullnose tiles is possible. Explore edge treatment options that deliver a sharp, clean finish. These methods keep your design up-to-date and ensure every detail shines. Let’s delve into two popular alternatives:
Using Metal Edge Trim
Metal edge trim is a sleek choice for shower niches. It adds a modern touch to your bathroom. This trim comes in various finishes to match any style:
- Stainless Steel: Offers a contemporary look
- Brushed Nickel: Provides a soft, matte finish
- Chrome: Creates a mirror-like shine
- Oil-rubbed Bronze: Gives a traditional, rich hue
Installing metal edge trim is straightforward:
- Cut the trim to fit your niche.
- Apply thin-set mortar on the niche edges.
- Press the trim into place.
- Tile as usual, aligning tiles with the trim’s edge.
Implementing A Glazed Edge Finish
A glazed edge finish uses tiles with a color-matched glaze on one side. This solution provides a refined look. It’s perfect for color continuity. Follow these steps:
- Select tiles with pre-glazed edges.
- Arrange them at the shower niche’s edge.
- Ensure a consistent design flow.
This method eliminates the need for additional trim pieces and maintains a cohesive tile pattern.
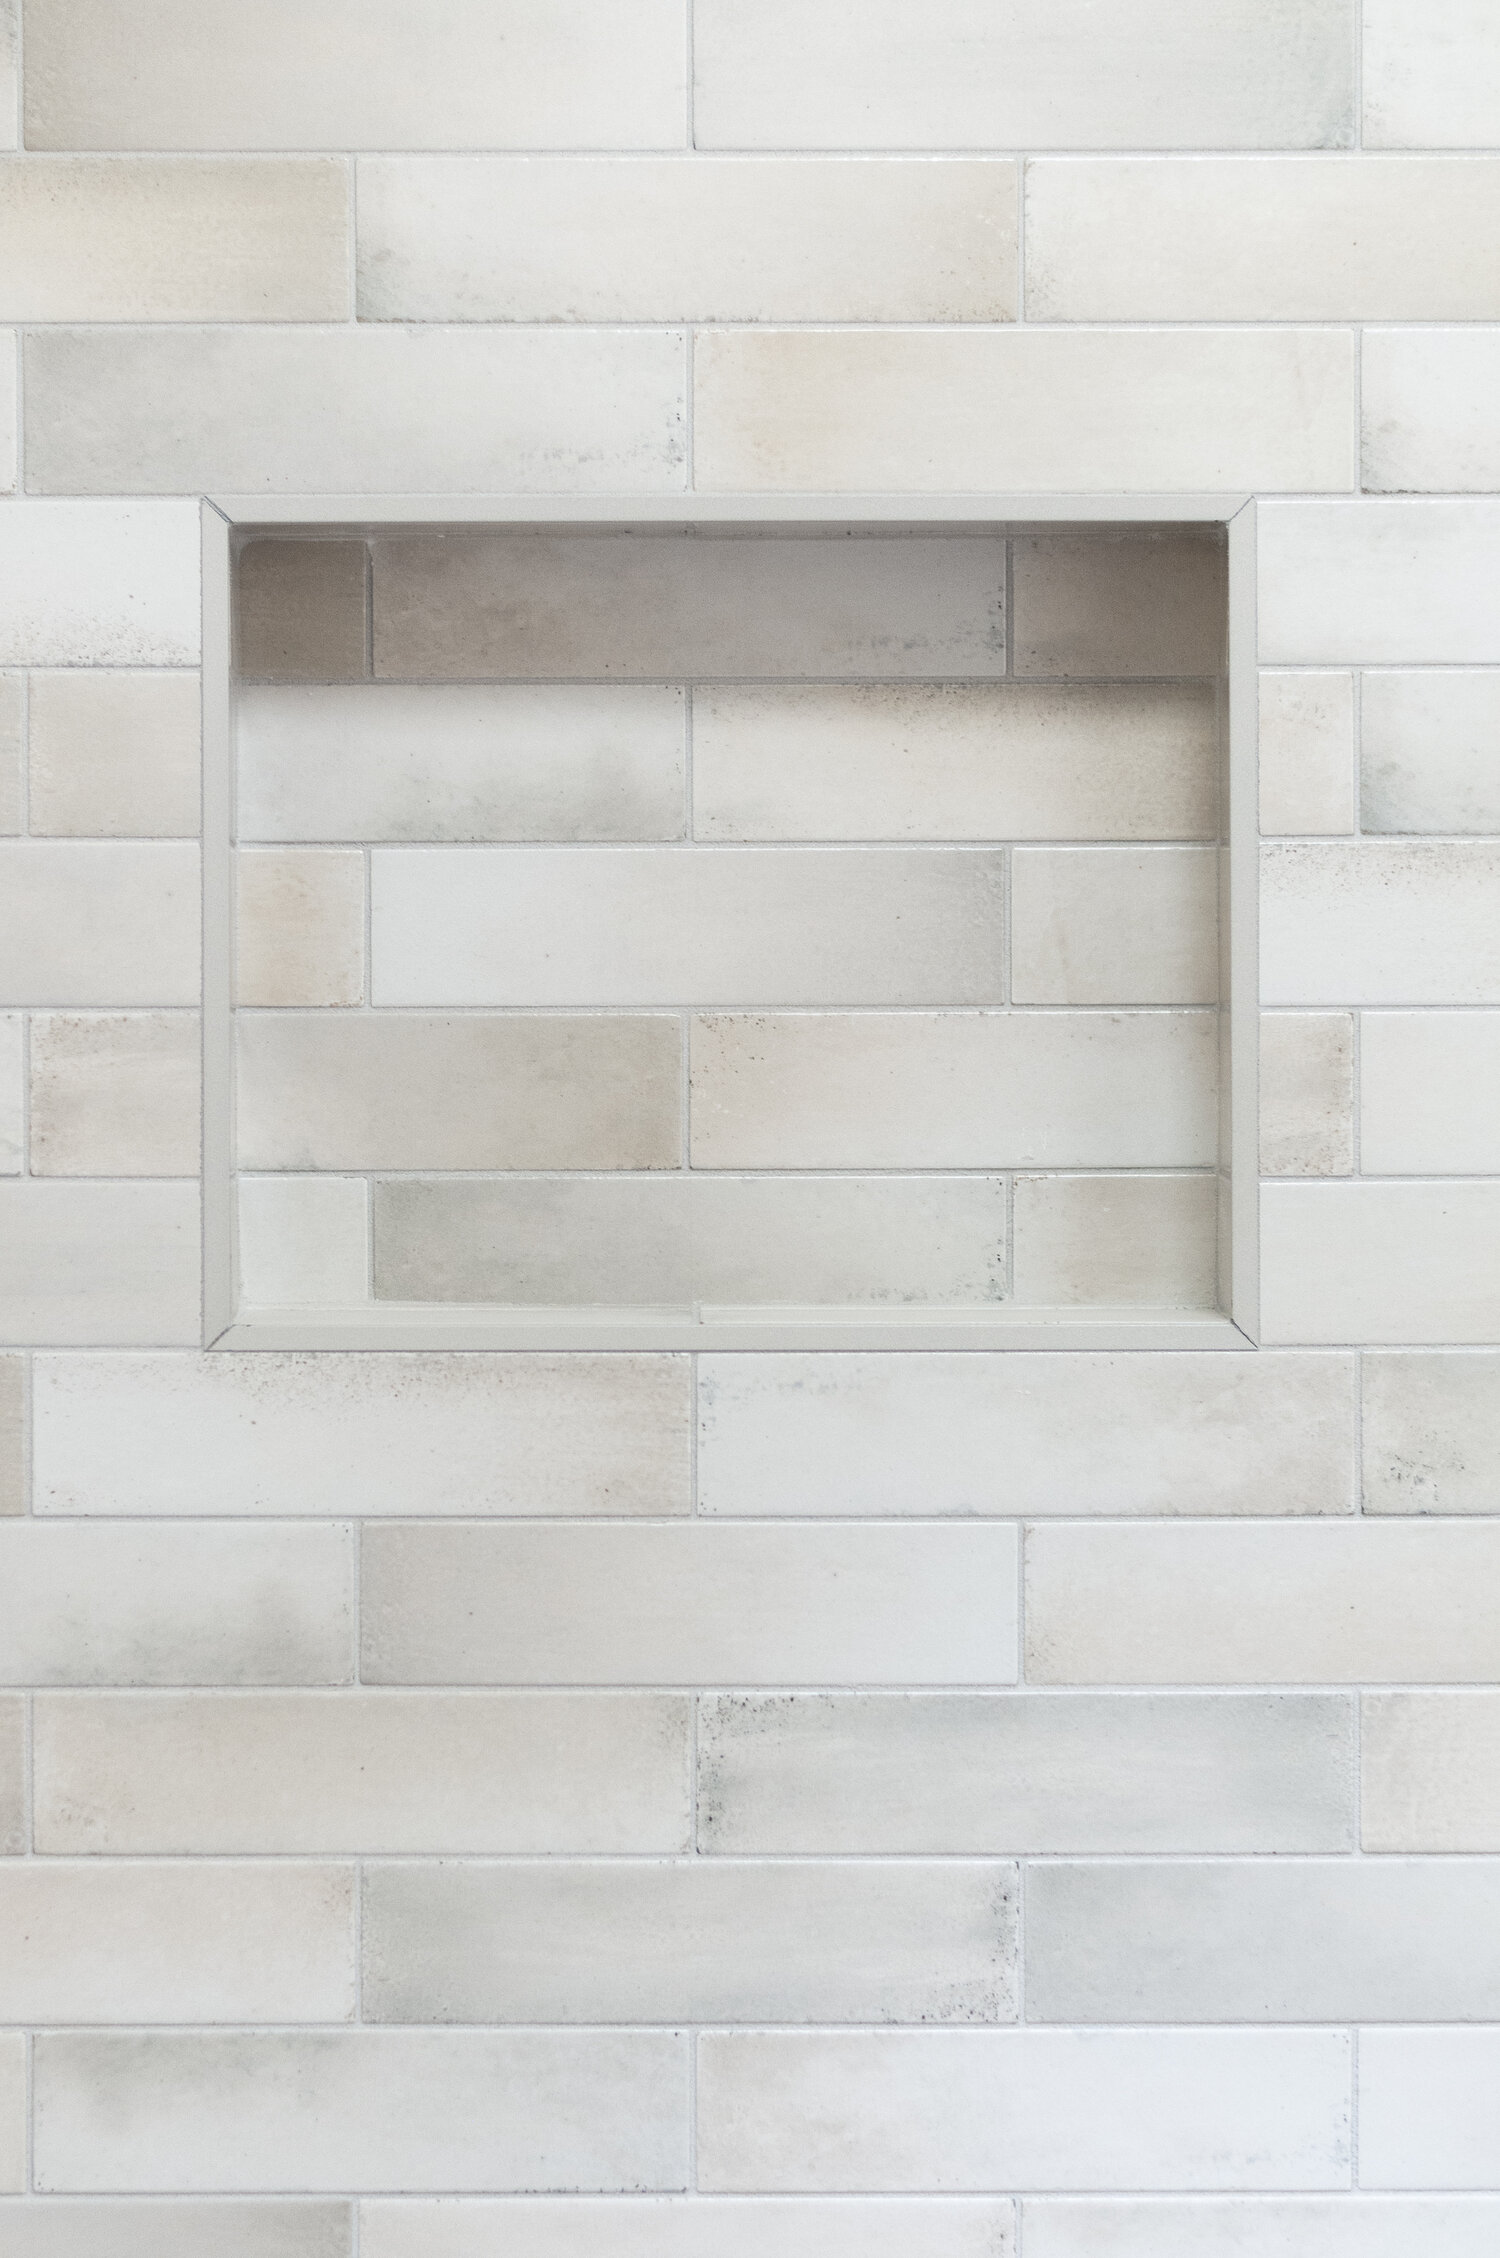
Credit: www.thetilepress.com
Installation Process
Embarking on your DIY journey to tile a shower niche without bullnose can be thrilling. The cleanliness and precision of your final product will largely depend on the installation process. Let’s walk through it step by step, ensuring every tile aligns perfectly, without the need for bullnose trim.
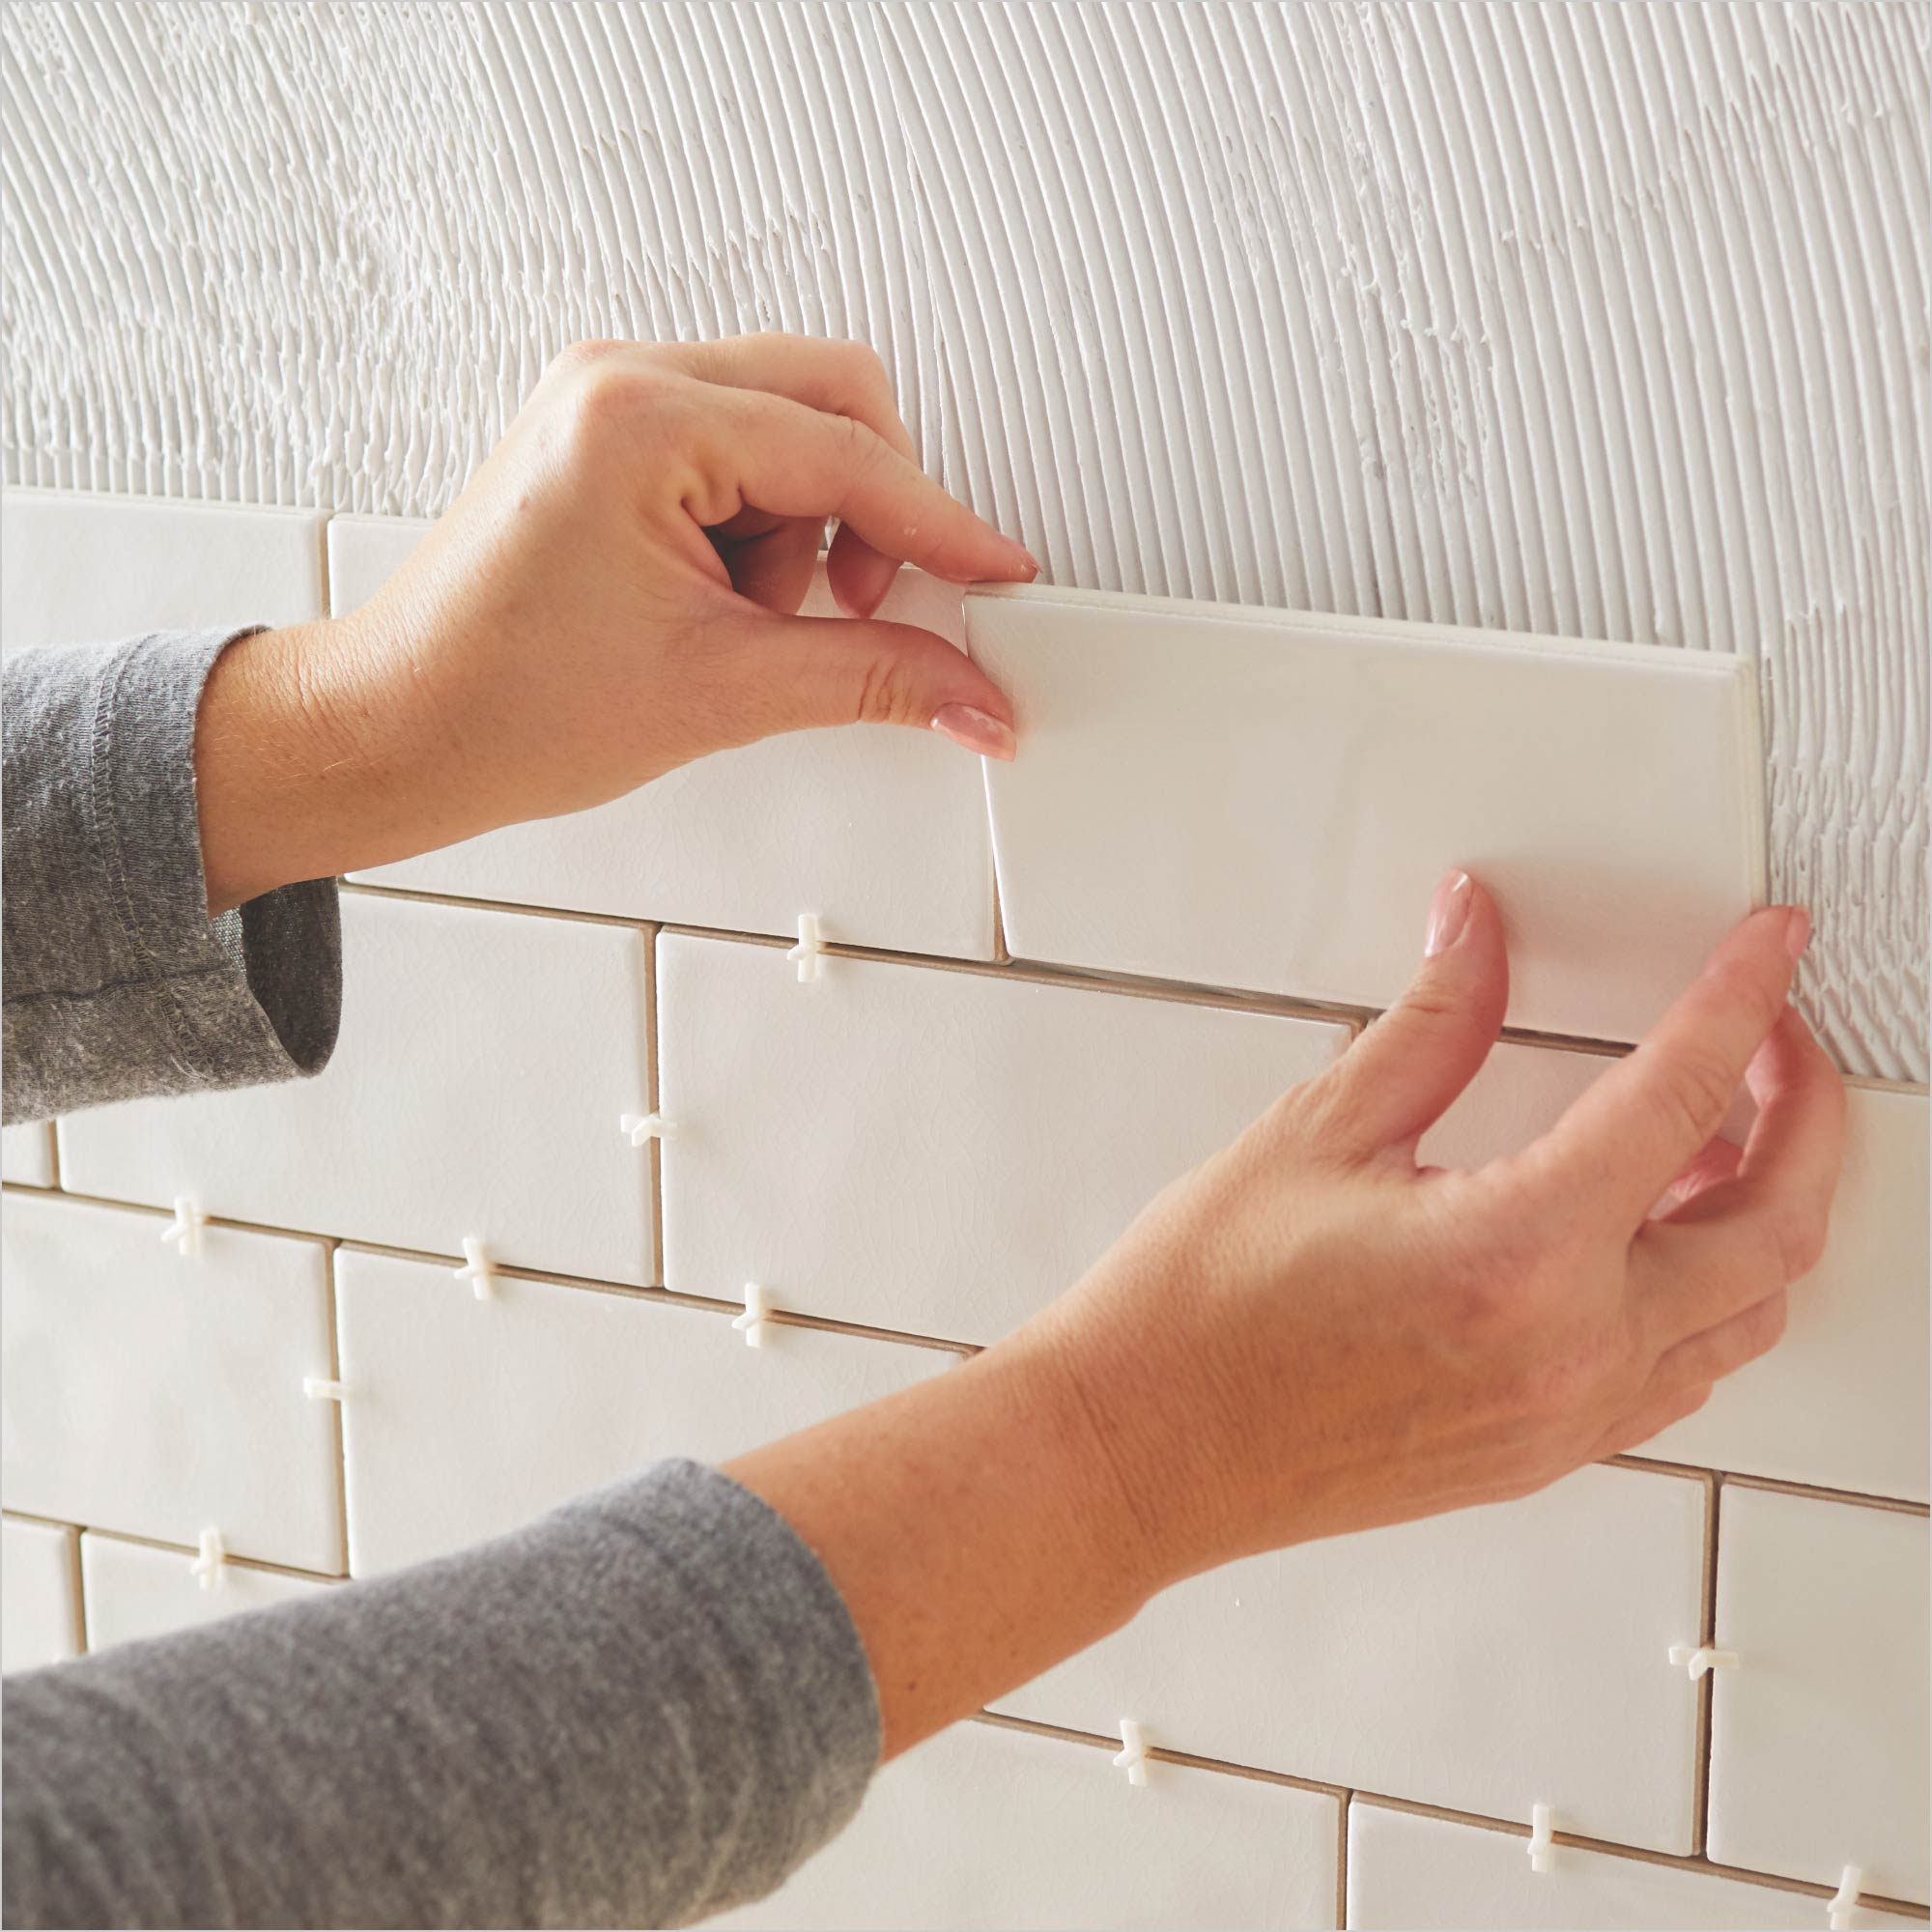
Step-by-step Tiling
Gather all necessary tools and materials before starting. This includes tiles, a tile cutter, adhesive, a notched trowel, a level, spacers, and grout.
Begin by preparing the surface. Ensure the niche area is clean, dry, and free from debris.
Apply tile adhesive on the back wall of the shower niche using a notched trowel. The notches help in creating uniform ridges that will hold the tiles in place.
- Place the first tile at the bottom center of the niche. Use a level to ensure it sits perfectly horizontal.
- Continue adding tiles outward from the center using spacers to maintain consistent joints.
- Once the back wall is tiled, proceed to the sides and top of the niche.
- Cut tiles to fit as required using a tile cutter or wet saw.
- Let the adhesive set as per the manufacturer’s recommendation before grouting.
Achieving Level And Aligned Tiles
Use a spirit level to constantly check the tile alignment both horizontally and vertically. This ensures a professional and pleasing finish.
Maintain uniform grout lines using spacers. This results in a neater and more symmetrical look, which is essential in the absence of bullnose to hide imperfections.
- Check the level after placing each tile.
- Adjust tiles slightly while the adhesive is still wet for perfect alignment.
- After installation, remove the spacers and get ready to apply grout.
Once the tiles are set, apply grout with a float at a 45-degree angle to fill all joints evenly.
Wipe away the excess grout with a damp sponge and polish the tiles with a clean cloth for a sleek finish.
Grouting And Sealing
Once your shower niche tiles await the final touch, you focus on grouting and sealing. This step ensures your shower remains water-tight and looks professionally finished. Understand the right techniques of mixing, applying grout, and sealing. Check your work as you go. Aim for both function and elegance in your DIY project.
Mixing And Applying Grout
Begin with selecting the right grout for your shower niche. Mix the grout following the manufacturer’s instructions. You want a consistency similar to peanut butter. Let it sit, also called slaking, for about ten minutes unless the instructions specify otherwise.
- Ensure clear workspace
- Wear gloves for safety
- Use a grout float to apply
- Work the grout into the joints
- Fill every gap for a uniform finish
- Remove excess grout with float
Keep a damp sponge handy to wipe away any grout on the tile surface. Allow the grout to dry. This typically takes about 24 to 48 hours. Check the grout lines; they should be full and smooth.
Sealing For Waterproofing
Sealing your grouted shower niche is critical. It prevents water from seeping behind the tiles. After the grout has dried, apply a sealer. Use a small brush for precision.
| Step | Action |
|---|---|
| 1 | Clean the grout lines |
| 2 | Dry the area fully |
| 3 | Apply sealer along the grout lines |
| 4 | Wait for sealer to penetrate |
| 5 | Wipe off excess sealer |
Look for a sealer that suits the type of tile you have. Consider water-based sealers for their ease of use and less odor. Remember to ventilate the area well. Reapply sealer annually to maintain water resistance. Your shower niche is now ready to endure daily showers while looking sleek and clean.
Finishing Touches
Once tiles grace your shower niche, the real magic happens in the finishing touches. These steps give your project a professional look. Shine and precision take the stage here.
Cleaning And Polishing Tiles
After grouting, a haze often lingers on tiles. This calls for thorough cleaning. A soft cloth or sponge works best. Gently wipe away any residue. Start from the top and work downwards. Remember, clean tiles reveal their true beauty. Once dry, apply a grout haze remover for stubborn spots. Then, polish tiles with a microfiber cloth. This extra effort brings out a brilliant, protective sheen.
Inspecting For Quality Assurance
Your shower niche deserves a close inspection. Check each tile for evenness and grout consistency. Use a level to ensure tiles align correctly. Look out for any gaps or cracks. Fill these with caulk to prevent moisture damage. Finally, step back and review your work from different angles. A meticulous review guarantees lasting results. Should you spot imperfections, now is the time to correct them.
Maintenance And Care
Caring for your freshly tiled shower niche extends its life and keeps it looking new. Proper maintenance and care are essential. Simple routines can avoid common issues with tiled surfaces. Let’s explore some effective maintenance tips.
Routine Cleaning Tips
Regular upkeep is crucial for a spotless shower niche. Gentle, non-abrasive cleaners work best.
- Use a soft sponge or cloth to wipe down tiles weekly.
- Avoid harsh chemicals; opt for pH-neutral solutions.
- Rinse thoroughly with water after cleaning.
- Dry with a soft towel to prevent water spots and mildew.
- Keep the area well-ventilated to reduce moisture buildup.
Repairing Damaged Tiles
Sometimes, tiles can get damaged. Quick fixes can prevent bigger problems.
- Identify any chips or cracks in your tiles early.
- Remove the damaged tile carefully to avoid affecting the rest.
- Clean the space where the tile was to remove debris.
- Apply tile adhesive to the space, then set the new tile in place.
- Seal with grout, matching the original color for consistency.
- Allow ample drying time before using the shower again.
Professional Insight
Tiling a shower niche without bullnose tiles presents a sleek and modern finish. Professionals in the tiling industry know how to deliver this sophisticated look. They share their experiences to help us avoid common pitfalls. Their guidance ensures a durable and aesthetically pleasing outcome.
Common Mistakes To Avoid
Avoiding errors is just as important as following best practices. Here’s what to look out for:
- Not planning the layout: Always start with a clear design.
- Ignoring waterproofing: Ensure your niche is completely watertight.
- Choosing the wrong adhesive: Only use quality materials.
- Rushing the process: Allow proper time for each step.
- Forgetting to seal edges: This protects against water damage.
Expert Advice For Durability
Durability is key in a shower niche. Here are the experts’ tips:
- Use high-grade caulk: This prevents water seepage.
- Pick the right tile: Porcelain or ceramic are good choices.
- Ensure tight fits: No gaps should exist between tiles.
- Keep maintenance in mind: Choose materials that are easy to clean.
- Consult professionals: When unsure, seek expert help.
Remember, a well-tiled shower niche adds value and functionality to your bathroom. Follow these steps for the best results.
Credit: www.homedepot.com
Frequently Asked Questions For How To Tile Shower Niche Without Bullnose
Can You Tile A Shower Without Bullnose?
Yes, you can tile a shower without bullnose by using alternatives such as metal edges, pencil tiles, or mitered tile edges for a clean finish.
Do Shower Niches Need Bullnose?
Shower niches do not strictly require bullnose tiles; other edge finishing options, such as tile trim or schluter strips, can alternatively provide a clean look.
What To Do When There Is No Bullnose Tile?
Use tile edge trim, caulk, or metal edges as alternatives to bullnose tiles. Consider using a different tile with a glazed edge or create a custom bullnose edge by sanding down the tile.
What Is An Alternative To Bullnose Tile Edges?
An alternative to bullnose tile edges is using metal edge trim, which provides a clean, modern finish to tiled surfaces.
Conclusion
Creating a sleek, stylish shower niche without the use of bullnose tiles is completely achievable. By following the steps outlined, you can master the art of tiling a niche with clean, modern edges. Remember to select the right materials, practice precise cutting, and apply sealant for durability.
Unleash your inner DIY expert and give your bathroom a custom upgrade that stands out.


