


To remove a Delta shower handle, first turn off the water supply and then unscrew the set screw under the handle. Next, gently pull the handle away from the wall to detach it.
Removing a Delta shower handle is often necessary for repairs, replacements, or cleaning. Most Delta shower handles are designed with a straightforward removal process, which doesn’t require specialized plumbing tools. Homeowners will commonly need an Allen wrench or a Phillips screwdriver to loosen the set screw that secures the handle in place.
It’s important to remember to cut off the water supply to prevent any accidental spillage or injuries. This task can typically be completed by most DIY enthusiasts, ensuring their shower continues to function smoothly or that upgrades to more modern fixtures can be implemented. The process generally involves exposing the hidden set screw and applying patient manipulation to avoid damaging the shower’s finish.
Introduction To Delta Shower Handles
Delta shower handles stand out in the world of bathroom fixtures. Known for durability and versatility, they fit various bathroom styles. Whether it’s for maintenance or an upgrade, sometimes you need to remove these handles.
Popularity Of Delta Fixtures
Delta fixtures garner praise for their innovation and reliability. The brand’s commitment to quality ensures that Delta shower handles are a go-to choice for many households.
Common Reasons For Handle Removal
- Cleaning – Mineral buildup and grime often prompt a thorough handle cleaning.
- Repairs – Drippy faucets may need internal components replaced, starting with handle removal.
- Updating – Swapping old handles for new ones can refresh the look of your shower.
Rest of the blog content would continue here with detailed steps on how to remove the handle
Credit: www.deltafaucet.com
Before You Begin: Safety And Preparation
Embarking on a DIY plumbing project like removing a Delta shower handle requires preparation. Your safety and the protection of bathroom surfaces should top your priority list. Let’s prepare to accomplish this task efficiently and without any mishaps.
Tools And Materials Needed
First, gather all necessary tools and materials:
- Adjustable wrench for turning nuts and bolts
- Screwdrivers (flat-head and Phillips)
- Allen wrenches, often needed for setscrews
- Towel or cloth to protect your finish
- Plumber’s tape for threads, if required
Turning Off The Water Supply
Always turn off your water supply before starting. This prevents water from gushing out unexpectedly. Here’s what to do:
- Find your water shut-off valve.
- Turn the valve clockwise to stop water flow.
- Open the shower faucet to drain remaining water and relieve pressure.
Protecting Your Bathroom Surfaces
Take steps to keep your bathroom looking pristine:
- Place a towel or a cloth over the shower drain.
- Doing this prevents small parts from falling in.
- Use tape on tools to avoid scratching the handle.
- Cover nearby surfaces to shield them from tools and parts.
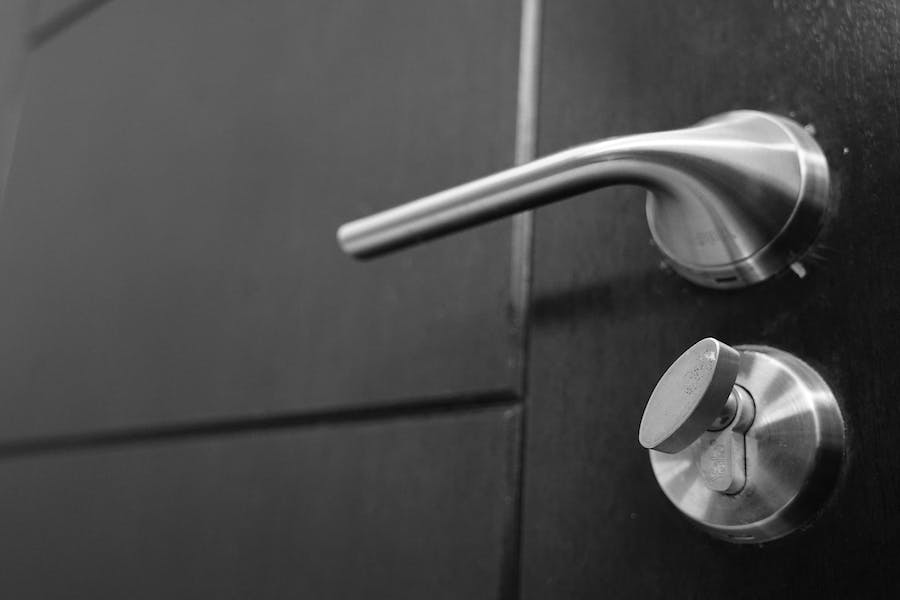
Identifying Your Shower Handle Type
Before diving into the removal of a Delta shower handle, it’s essential to know what type you’re working with. Not all handles are created equal. Discovering the specific type you have ensures a smoother and more efficient removal process. This simple guide will take you through the different types of Delta shower handles and tips to locate the set screw. Let’s empower you to tackle this task confidently and safely.
Types Of Delta Shower Handles
Your Delta shower handle falls into one of several categories. Each one has its unique design and attachment method. Identifying the type is the first step towards successful removal.
- Knob Handles: Round or oval-shaped and typically made from clear plastic or metal.
- Lever Handles: Straight or curved bar-like handles that you can push or pull.
- Paddle Handles: Wider, flat handles offering an easy grip.
- Touch-Clean Handles: Featuring rubber nubs for easy cleaning and maintenance of the shower head.
Finding The Set Screw
The set screw is a small fastener that holds the handle in place. It can sometimes be hidden and tricky to find.
- Check the Base: Look under the handle for a small opening where the set screw might be located.
- Feel Around: If you can’t see it, gently feel around the handle’s base for an indent where the screw could be camouflaged.
- Use a Flashlight: Shine a light to help spot the reflective metal screw.
Once the set screw is identified, the right tools, such as an Allen wrench or screwdriver, can be used to remove it and proceed with the handle replacement or repair.

Credit: support.deltafaucet.com
Removing The Shower Handle
Ready for a new look or need to replace your Delta shower handle? Getting it off might seem tough, but let’s break it down. With a few simple steps, you’ll have that handle off in no time.
Loosening The Set Screw
First things first, find the set screw. It’s usually hidden under a cap at the handle’s base. Gently pry the cap off with a flathead screwdriver to expose the screw. Grab an Allen wrench that fits the screw and turn it counterclockwise. This will loosen the grip on your handle.
Pulling Off The Handle
With the set screw loose, gently pull the handle towards you. It should slide off the stem easily. If it seems tough, wiggle it a bit as you pull. Don’t pull too hard; let’s keep everything in good shape.
Troubleshooting Stuck Handles
Stuck handle? No worries. Try these steps:
- Ensure the set screw is completely loose.
- Apply a penetrating oil around the handle’s base. Wait a few minutes.
- If it’s still stuck, tap gently with a rubber mallet.
- As a last resort, use a handle puller tool.
With patience and the right moves, even the most stubborn handle will come off.
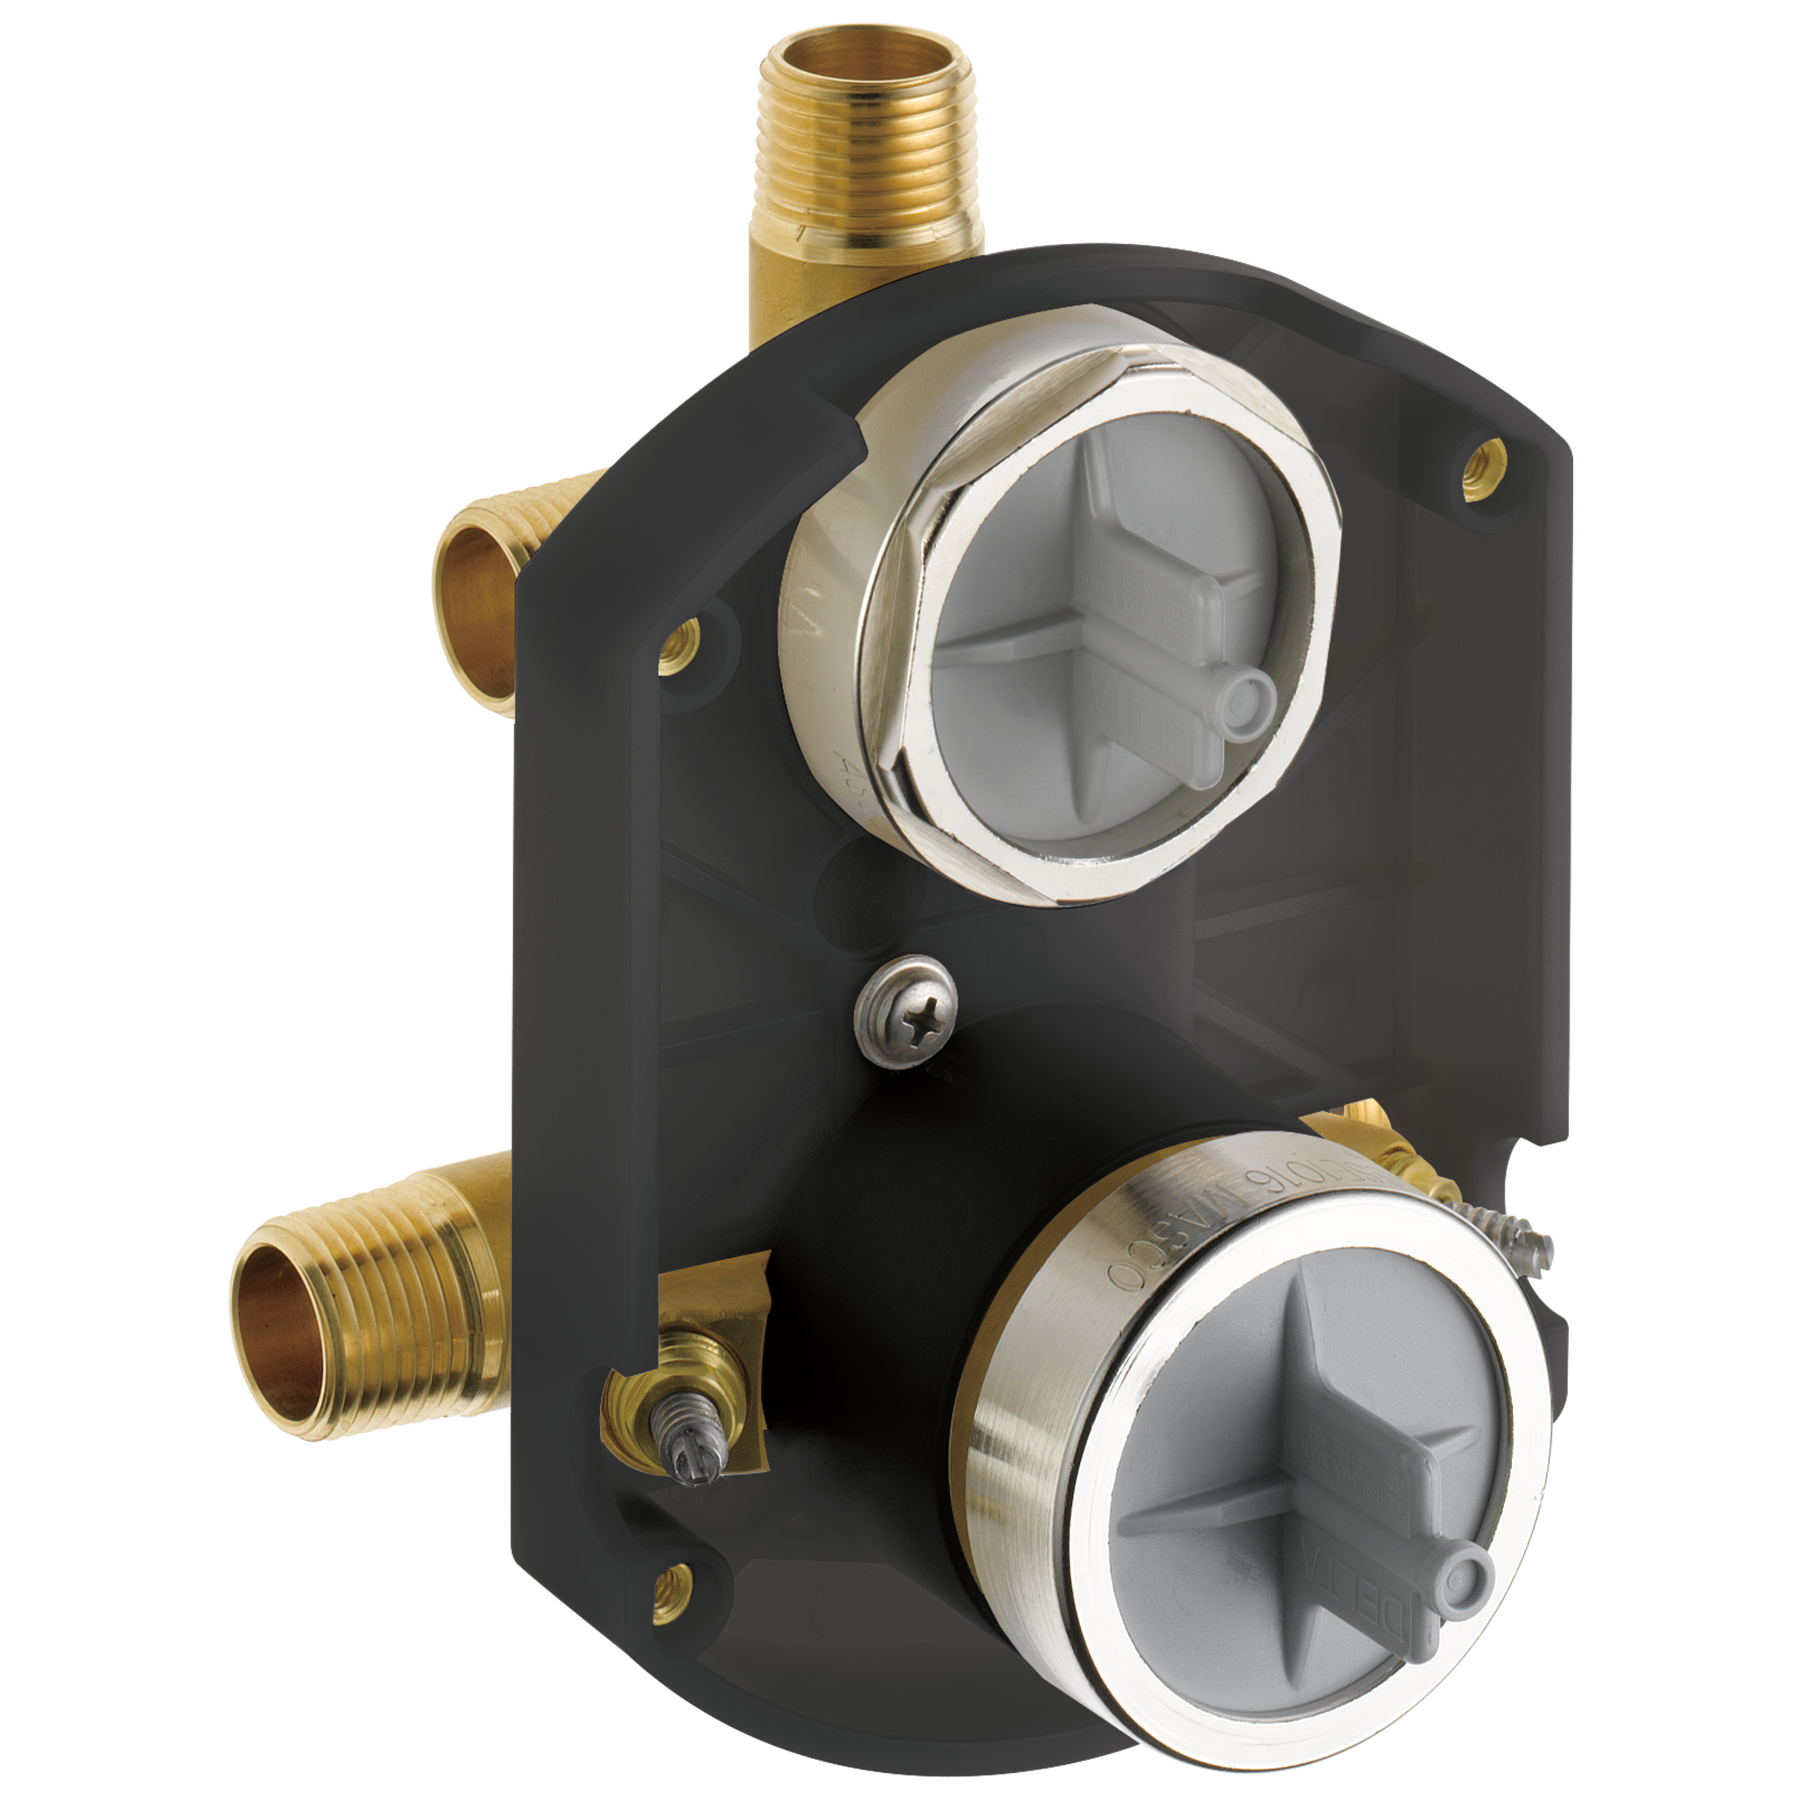
After Removal: Maintenance And Replacement
Now that you’ve successfully removed the Delta shower handle, it’s the perfect time for some maintenance and choosing a replacement. This essential care ensures your shower remains in top condition. Let’s dive into the aftercare involving cleaning the valve stem, selecting a new handle, and installing it properly.
Cleaning And Inspecting The Valve Stem
Proper valve stem maintenance extends your shower’s life and ensures smooth operation. Follow these steps:
- Wipe down the stem with a clean cloth to remove any debris or buildup.
- Use a mild cleaner if you notice calcium deposits.
- Inspect for signs of wear or damage. Look for cracks or corrosion.
Address any issues before installing a new handle to prevent future problems.
Choosing A Replacement Handle
It’s crucial to select the right handle to match your shower system. Consider these points:
- Match the brand and model of your current system.
- Measure the valve stem to ensure compatibility.
- Choose a style and finish that complements your bathroom decor.
Quality matters. Opt for durable materials for longevity.
Installing The New Shower Handle
With the right replacement handle, installation is straightforward:
- Align the handle with the valve stem notch.
- Secure it using the provided screws or set screws.
- Test the handle to ensure smooth operation and no leaks.
Remember to turn the water supply back on and ensure everything works correctly before using the shower.

Credit: www.wikihow.com
Final Steps And Testing
Now you’ve successfully removed the Delta shower handle, it’s time for the crucial final phase. Ensuring your shower operates smoothly without leaks is top priority. Here’s how to reopen your water supply, test your shower’s function, and tidy up with meticulous care. Follow these simple steps to guarantee your handle is fixed perfectly and you can enjoy a hassle-free shower experience.
Reopening The Water Supply
- Locate the main water valve.
- Slowly turn the valve to restore water flow.
- Listen for any unusual sounds.
Restoring the water supply is sensitive. A gentle, gradual turn prevents any potential burst of pressure that could damage newly installed parts.
Testing For Proper Function And Leaks
- Open the shower valve fully.
- Observe the water flow.
- Check all connections for drips.
Testing the function ensures everything works as it should. Vigilantly inspect for leaks at every joint to avoid future problems.
Finishing Touches And Cleanup
Clean the work area thoroughly. Wipe off the handle and surrounding shower surfaces. Discard old components and tidy up your tools. Your bathroom should look spotless and welcoming. Remember, a clean space reflects a job well done.Celebrate your successful DIY project!
Frequently Asked Questions For How To Remove Delta Shower Handle
How Do I Remove My Delta Shower Handle?
Turn off the water supply. Remove the handle’s set screw with an Allen wrench. Gently pull the handle off the valve stem. If stuck, wiggle it carefully until it loosens.
How Can I Remove A Delta Faucet Handle That Has No Set Screw?
Turn off the water supply to your faucet. Examine the handle for a hidden access point or button. Gently pry off the cap or button with a flathead screwdriver. Remove the exposed screw and lift the handle off the valve stem.
How Do You Take Off Shower Handle?
Turn off the water supply. Remove the cap from the handle. Unscrew the screw securing the handle. Gently pull the handle away from the wall. If stuck, wiggle it slightly until it loosens.
How Do You Change A Delta Shower Faucet Cartridge?
To change a Delta shower faucet cartridge, first turn off the water supply. Remove the faucet handle and trim. Extract the old cartridge and insert the new one, ensuring proper alignment. Reassemble the trim and handle, then restore the water supply to test functionality.
Conclusion
Removing your Delta shower handle doesn’t have to be a hassle. By following the steps outlined, you’ve learned a straightforward process. Regular maintenance ensures longevity and optimal performance. Ready for any future bathroom projects? Keep our site bookmarked for tips and tricks that empower your DIY spirit!


