


To remove a Delta shower handle, first turn off the water supply and then unscrew the handle set screw with an Allen wrench. This process typically involves a few straightforward steps, including locating the set screw and using the appropriate tools.
Dealing with a stuck or outdated Delta shower handle can be a hassle, but updating or repairing it doesn’t have to be a daunting task. Whether you’re looking to replace your Delta shower handle or perform routine maintenance, understanding how to safely remove it is crucial.
This guide will walk you through the essentials of detaching a Delta shower handle, ensuring you have a smooth and efficient experience. With concise instructions, you can tackle this plumbing project with confidence, even if you’re not a seasoned DIYer. Rest assured, with the right approach and a little patience, you’ll have that shower handle off in no time, paving the way for whatever maintenance or upgrade you have planned.
Credit: www.equiparts.com
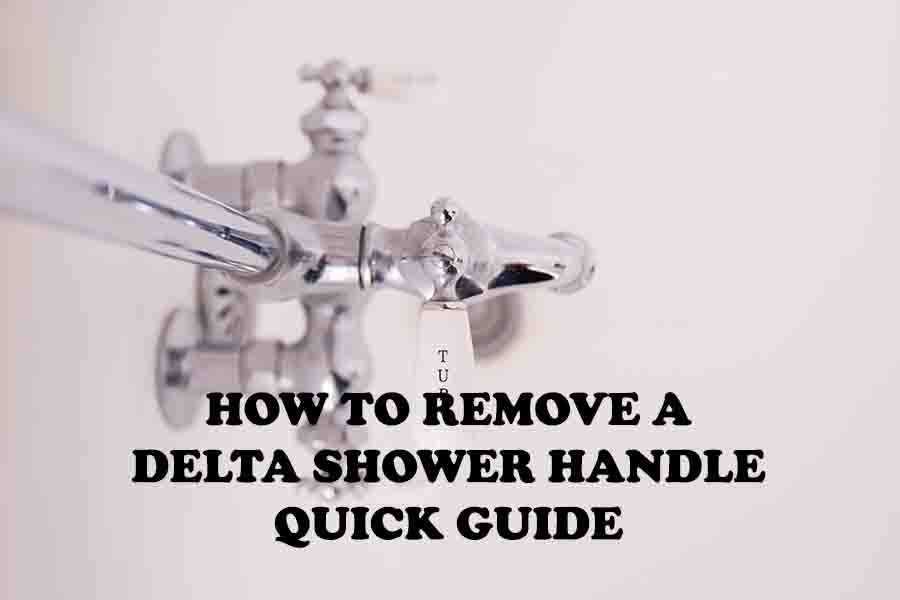
Introduction To Delta Shower Handle Removal
Removing a Delta shower handle is a straightforward process. It’s vital for both cleaning and repairs. You’ll save time, avoid damage, and possibly even prevent a leaky faucet. A clear understanding makes the job easier.
Importance Of Proper Removal Techniques
Using the correct techniques to remove your shower handle is crucial. It ensures safety and maintains the handle’s condition. Whether you’re a DIY enthusiast or a first-timer, these steps will guide you through.
Tools Needed For The Job
Before starting, gather your tools. The right tools make the removal smooth and hassle-free. Below is a list of what you’ll need:
- Allen wrench or hex key
- Flat-head screwdriver
- Phillips-head screwdriver
- Adjustable wrench or pliers
- Towel or cloth (to protect your fixtures)
Now, you’re ready to start the removal process. Follow each step carefully and handle your Delta shower with care.
Identify Your Delta Shower Handle Type
Before attempting to remove your Delta shower handle, it is vital to know which type you have. Different handles may require distinct removal methods. Recognizing your shower handle type ensures the proper technique for a smooth removal process.
Common Delta handle types
Common Delta Handle Types
Delta shower handles come in several styles. They affect how the handle attaches to the plumbing. These are the common ones to look out for:
- Knob Handles – Round or tulip-shaped that turn to control the water.
- Lever Handles – They have a long, flat shape for smooth operation.
- Push-Button Diverter Handles – Feature a button for switching water flow from tub to shower.
Finding the model number
Finding The Model Number
To find the exact instructions for your shower handle, locate the model number. This information helps with replacement parts or customer service.
Here’s how to find your Delta shower handle model number:
- Check the original packaging or receipt if available.
- Look for any identification tags on the handle or trim plate.
- Inspect under the handle using a flashlight if needed.
- If uncertain, visit the Delta Faucet website for further assistance.
Preparation Steps Before Removal
Before diving into the task of removing your Delta shower handle, proper preparation is essential. It ensures a smooth and damage-free removal process. Let’s guide you through the essential first steps to get ready for this DIY project.
Shutting Off Water Supply
The first step is to turn off the water. This prevents water from gushing out when you remove the handle. Find your home’s main water valve. Turn it clockwise to shut off.
- Locate the main water valve.
- Twist it clockwise to stop the water flow.
Protecting Your Shower’s Finish
To protect the shine of your shower, take measures to safeguard it. A slip of the wrench could scratch the surface. Use tape or a rag to prevent this.
- Cover the shower handle with tape.
- Place a cloth over any surfaces you work near.
The right preparation can save you time and prevent damage. Keep tools and materials handy. Work carefully to protect your bathroom’s aesthetic.
Removing The Handle
Time to say goodbye to that old Delta shower handle? No worries!
Simple steps, a few tools, and it’s off in a jiffy. Let’s get started.
Loosening The Set Screw
First, you’ll need to find the small set screw.
It’s hiding under the handle, behind a decorative cap.
- Gently pry off the cap with a flathead screwdriver.
- Spot the set screw? You’ll need an Allen wrench.
- Insert the wrench into the screw and turn counterclockwise.
Loosen it but don’t remove it entirely.
Pulling Off The Handle Properly
Loosened the screw? Great.
Now, firmly grip the handle with both hands.
- Pull straight out from the wall, evenly and slowly.
- Feeling stuck? Wiggle it gently to free it.
Remember: Force is not your friend here.
Take your time, and the handle will come off smoothly.
Troubleshooting Common Issues
Many DIY enthusiasts may find removing a Delta shower handle straightforward, but sometimes issues can arise. This section deals with common problems you might face. Identifying these issues quickly will help you avoid unnecessary frustration during your project.
Handle Stuck After Set Screw Removal
A stuck handle can be a nuisance, especially after removing the set screw. This problem often traces back to mineral deposits from water, causing the handle to bind. The following steps can help:
- Apply penetrating oil to the area where the handle meets the stem.
- Wait for several minutes, allowing the oil to break down the deposits.
- Gently wiggle the handle back and forth until it loosens.
- Use a pair of pliers if needed, but protect the chrome with a cloth.
Managing Stripped Screws
Stripped screws can stop a project in its tracks. Yet, managing this issue is possible with the right approach:
- Place a rubber band over the screw head, and insert the screwdriver.
- Apply firm pressure and slowly turn the screwdriver.
- If the screw remains stuck, use a screw extractor kit.
For severely stripped screws, consult a professional to avoid damaging your shower handle further.
Credit: www.ebay.com
Reassembling After Maintenance Or Replacement
Just finished with shower handle maintenance or got a shiny new replacement? Great! Now, let’s put it all back together. Reassembling your Delta shower handle is simple with the right steps. I’ll guide you through each one to ensure a snug fit and perfect function.
Securing The Handle Back In Place
First things first, let’s get that handle attached securely. Here’s what to do:
- Locate the screw hole on the handle. It’s usually covered with a cap or button.
- Carefully remove the cap using a flat-head screwdriver. Aim to keep it scratch-free.
- Align the handle with the stem on the valve. Make sure it’s positioned right.
- Insert the set screw into the hole. Tighten it with a screwdriver or an Allen wrench.
- Gently place the cap back over the screw. It should snap in place with a soft press.
Pro Tip: Do not overtighten! Overdoing it can damage the screw or handle.
Testing For Successful Installation
Time to make sure everything works as it should:
- Turn the handle slowly to the on position. Listen for any unusual sounds.
- Check for smooth operation. It should move easily without resistance.
- Observe the water flow. It should start clean without any drips or leaks.
- Move the handle to off. The water should stop completely without delay.
If all looks good, you’ve nailed it! Your Delta shower handle is ready for action. If you notice any issues, double-check your steps. A small adjustment may fix it.
Remember: A good test run is key to a successful installation.

Credit: m.youtube.com
Frequently Asked Questions On How To Remove A Delta Shower Handle
Can You Replace A Delta Shower Handle By Yourself?
Yes, replacing a Delta shower handle is a manageable do-it-yourself project. With basic tools like a screwdriver and an Allen wrench, you can complete the task. Remember to turn off the water supply before starting the replacement process.
What Tools Are Needed To Remove A Delta Shower Handle?
To remove a Delta shower handle, you will need a few common tools. These include an Allen wrench to loosen the set screw, a screwdriver, and possibly pliers. Ensure you have these tools available before starting the removal process.
How To Find The Set Screw On A Delta Shower Handle?
The set screw on a Delta shower handle is typically located under the lever or knob. Look for a small opening or cover at the base of the handle. You may need to pry off the temperature indicator or an index cap to access it.
Do You Need To Turn Off Water To Remove The Shower Handle?
Yes, before attempting to remove the Delta shower handle, it’s crucial to turn off the water supply to the shower. This prevents any potential water damage or injury during the removal process. The water shutoff valve is usually found in the bathroom or basement.
Conclusion
Removing a Delta shower handle is straightforward with the right tools and steps. This guide aimed to simplify the process for homeowners and DIY enthusiasts. Remember to turn off the water supply, keep small parts organized, and handle each component with care.
With patience and precision, your shower handle will be off in no time, ready for replacement or repair. Stay equipped, stay safe, and good luck with your plumbing project!


