


To make an access panel for a bathtub, measure and cut an opening in the drywall and install a pre-made panel or create a custom one. Seal the edges for a finished look and easy access for future maintenance.
Creating an access panel for your bathtub is an essential task for any bathroom renovation or repair project. With the right tools and a clear plan, even a novice DIY enthusiast can accomplish this with precision and ease. An access panel provides vital access to plumbing and fixtures hidden behind the bathtub wall, ensuring that you can reach them for repairs without causing unnecessary damage.
Tailoring this project to your specific bathroom layout and design is key, as is ensuring the panel blends seamlessly with the surrounding area for a professional finish. Accurate measuring and cutting are critical steps that lead to a snug fit and prevent moisture entry. It’s a simple, yet invaluable addition that saves time and money in the long run by enabling quick fixes.

Credit: www.dumpsters.com
Essentials Of Access Panels
An access panel for your bathtub is crucial for maintenance and repair. It allows easy access to plumbing and fixtures hidden behind the bath. A well-designed panel blends with the bathroom decor while ensuring functionality.
Purpose Of A Bathtub Access Panel
Access panels serve important purposes in any bathroom setting:
- Easy access for repairs and inspections.
- Protects plumbing from everyday wear and tear.
- Maintains the integrity of the wall and tiling.
- Provides a hidden yet accessible space for essential fixtures.
Tools And Materials Needed For Diy Installation
To install an access panel, you’ll need the right tools and materials:
| Tools | Materials |
|---|---|
| Measuring Tape | Access Panel Kit |
| Drill | Screws |
| Jigsaw or Drywall Saw | Silicone Caulk |
| Level | Joint Compound |
| Screwdriver | Pry Bar (if necessary) |
Before starting the DIY installation, ensure you have all necessary items. Prepare your workspace and keep the area clear.
Planning Your Approach
An access panel for your bathtub is crucial for maintenance and plumbing access. A well-planned approach means fewer hitches during installation. Let’s look at the things to consider to create an effective access panel.
Locating The Right Spot For The Access Panel
Choose a spot that offers easy access to the plumbing without affecting the bathroom’s design. Use a stud finder for safety and accuracy. Ensure the area is free of electrical wiring and pipes. Common sites are adjacent to the bathroom’s wall or inside a closet.
Determining The Size Of The Access Panel
Size it right for convenient access to fixtures. Measure the distance between studs for width. Ensure height covers all necessary plumbing. Aim for a balance between ample access and discreet appearance.
Types Of Access Panels Suitable For Bathtubs
- Plastic Panels: Rust-proof and easy to install. Come in many sizes.
- Metal Panels: Sturdy and secure. Good for larger openings.
- Tiled Panels: Blend with bathroom decor. Requires more effort to install.
- Paintable Panels: Customize to match your wall color.
Preparation Steps
Before creating an access panel for your bathtub, it’s crucial to prepare thoroughly. Smart preparation ensures a smooth installation. Let’s dive into the key steps.
Safety Precautions Before Starting
Safety comes first anytime you embark on a DIY project. Here’s what you need to do:
- Turn off the main water supply to avoid any wet accidents.
- Wear protective gear like gloves and safety glasses.
- Ensure the work area is well-lit and clear of any clutter.
- Keep a first aid kit nearby, just in case.
- Never cut into a wall without confirming no electrical wiring or plumbing is in the way.
Measuring And Marking The Cutout Area
To begin, you need to identify the right spot:
- Locate the area where the bathtub’s plumbing is housed.
- Use a stud finder to ensure you don’t cut into any structural beams.
- Outline the cutout space on the wall using painter’s tape for a clear visual guide.
- Measure the space meticulously and confirm dimensions twice.
- Mark the final cut lines with a pencil inside the taped area.
The dimensions depend on the access required—big enough to work comfortably but not too large to maintain aesthetics. A standard access panel size is 14 inches by 14 inches, yet it’s wise to tailor the dimensions for your specific needs. Once measured and marked, you’re ready to create the access panel.

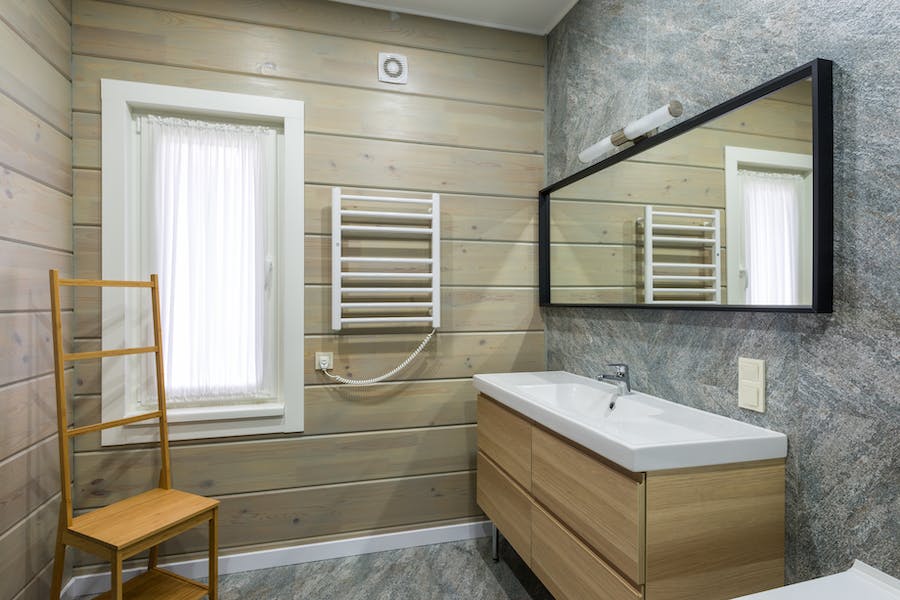
Credit: cassmakeshome.com
Creating The Access Panel
Creating an Access Panel for your bathtub is not only practical but essential for easy plumbing access. A well-constructed panel avoids costly drywall or tile repairs when plumbing issues arise. This step-by-step guide helps you craft a seamless access panel with a professional finish.
Cutting The Opening With Precision
The first step is to identify your panel location and mark your cutting area. Use a stud finder to avoid structural beams. Next, outline the desired size on the wall with masking tape for visibility. Employ a sharp drywall saw or a rotary tool for precise cuts. Always cut smaller than marked and adjust as necessary to ensure a snug fit for the panel.
Finishing Edges For A Clean Look
With the hole cut, it’s crucial to smooth the edges for a clean look. Use sandpaper or a fine file to polish any rough patches. If your wall is tiled, a special diamond file might be needed. After smoothing, apply drywall joint compound along the edges if necessary, and sand again once dry. This process ensures a finished appearance once the panel is installed.
Fitting The Panel Or Door
To fit the panel, you can use a pre-made door or create a custom panel from water-resistant material. Measure the opening carefully and cut your panel 0.5 inches smaller than the opening for a proper fit. Attach the panel using hinges for easy opening or magnet catches for a removable option. Ensure your panel aligns properly and opens without obstruction.
Sealing And Waterproofing Considerations
Bathrooms are high-moisture areas, so sealing and waterproofing your access panel is vital. Use silicone caulk around the panel edges to prevent water intrusion. For added protection, seal the seams of the panel itself using a waterproof sealant. Allow adequate drying time for all sealants before exposing the area to moisture.
Customization Options
Credit: www.architecturaldigest.com
Maintenance And Troubleshooting
Regular maintenance of your bathtub access panel prevents plumbing disasters. In this section, we discuss the importance of upkeep and how to tackle common issues with your bathtub access panel.
Regular Inspection And Upkeep
Maintaining your access panel is crucial for a functional bathroom.
- Check seals and edges for wear and tear.
- Ensure hinges are secure and rust-free.
- Look out for water damage or leaks.
Clean the panel regularly to avoid dirt buildup. Keep moving parts, like latches or locks, well-lubricated.
Solving Common Access Panel Issues
Quick fixes can save time and money. Here’s how:
| Issue | Solution |
|---|---|
| Stuck Panel | Lubricate hinges and latches |
| Noisy Hinges | Apply silicon spray |
| Loose Handle | Tighten screws |
If leaks occur, replace worn gaskets or seals immediately.
For damaged panels, either patch up or replace the entire unit.
Frequently Asked Questions For How To Make An Access Panel For Bathtub
Does A Bathtub Need An Access Panel?
Yes, a bathtub usually requires an access panel to reach plumbing for repairs or maintenance. This ensures easy accessibility to the tub’s plumbing system without needing to remove the entire fixture.
How Do You Access Plumbing For A Bathtub?
Access plumbing for a bathtub by removing the access panel, typically located on the tub’s side or behind the wall in an adjacent room or closet. Ensure the main water supply is off before starting any repairs or inspections.
How Do You Install A Bath Access Panel?
To install a bath access panel, first measure and cut the opening needed. Secure the panel framing to the surrounding material. Attach the access panel, ensuring it fits snugly. Finish by sealing edges with caulk to prevent moisture penetration.
How To Make A Removable Bath Panel?
Measure your bath’s dimensions and cut a suitable board. Attach magnetic catches or clips to the board and frame. Ensure strong, easy-to-detach connections. This creates a removable bath panel for access and maintenance.
Conclusion
Crafting your own bathtub access panel is a manageable task with the right tools and guidance. By following the steps outlined, you can achieve a functional and aesthetically pleasing result. Remember, regular maintenance is crucial; your new panel will facilitate this seamlessly.
Ready to embark on your next DIY home improvement project?


