


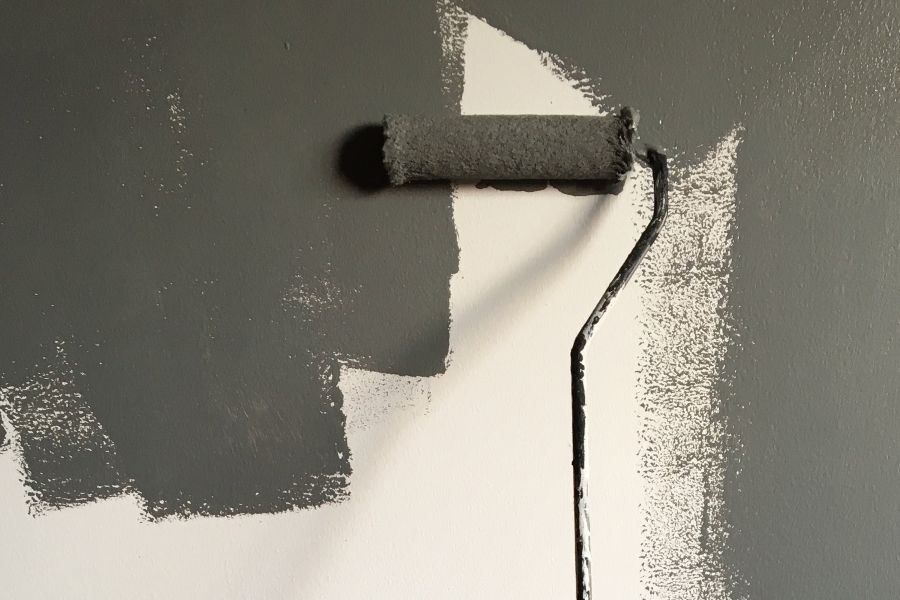
To get a paint sample from a wall, gently cut around a small section with a sharp utility knife. Peel the top layer away to use as your sample.
Choosing the right paint to match or renovate your wall involves a crucial step: getting an accurate color sample. Homeowners and decorators often require precision in matching existing wall colors, whether for touch-ups or creating a new design that complements the current palette.
A proper paint sample allows you to carry out a seamless paint job that blends flawlessly with your wall’s existing shades. Before heading out to the paint store, it’s essential to obtain a tangible piece of your wall’s paint. This practical approach ensures that you can precisely match colors, avoiding unnecessary repaints and ensuring design continuity. Follow a simple and careful sampling process to preserve your wall’s integrity while acquiring the color reference you need.
Credit: www.kylieminteriors.ca
Introduction To Paint Sampling
Matching the exact shade of paint can seem like finding a needle in a haystack. Precise paint sampling is the key. It ensures the new paint blends perfectly with your wall. Whether touching up a spot or repainting a section, accurate paint sampling saves time and money. Let’s dive into the importance of getting it right and why you might need a sample.
The Importance Of An Accurate Color Match
Getting the exact color match is crucial for a seamless look. A mismatch can lead to stand-out patches, doubling work and costs. Accurate matches maintain consistency across your space, preserving aesthetics and enhancing home value. It’s all about the details that make a house a home.
Common Reasons For Needing A Paint Sample
- Wall touch-ups: Scratches or marks can mar a wall’s appearance.
- Home renovations: Matching new additions with the existing color scheme.
- Selling your home: Fresh paint attracts potential buyers.
- Decor changes: Ensuring new hues complement the old.
Preparing For The Paint Sampling Process
Before you begin to extract a paint sample from your wall, it’s essential to get ready. Proper preparation ensures a smooth process and a precise sample. In this section, we’ll guide you through the steps to prepare for paint sampling.
Gathering The Necessary Tools And Materials
To start, collect all the items you will need. Here’s a straightforward list to help you:
- Paint scraper or putty knife: To gently remove the paint without damaging the wall.
- Clear tape: It helps to get a clean and consistent sample.
- Plastic bag or envelope: To safely store your paint sample.
- Magnifying glass (optional): To closely examine the paint layer.
- Gloves: To keep your hands clean and prevent oils from contaminating the sample.
- Cloth and mild detergent: For cleaning the wall area where the sample will be taken.
Protecting Surrounding Areas Before You Start
Next, it’s crucial to protect the area around the sampling spot. These steps will help:
- Cover the floor with a drop cloth or old newspapers to catch any falling paint chips.
- Use painter’s tape to mark off a section of the wall if a precise area needs sampling.
- Clean the wall surface before sampling to remove dirt and debris that could affect the sample’s quality.
- Consider furniture and fixtures near the sampling area. Move them away or cover them to avoid accidental damage.
Paying attention to these details makes for a smooth and efficient paint sampling process. The right tools and protective measures are the first steps to obtaining an accurate paint sample from your wall.
Identifying The Best Area To Sample
Identifying the Best Area to Sample is crucial when you need a paint match. A careful selection ensures an accurate color replication. Follow these steps to find the perfect spot on your wall for a paint sample.
Finding A Discrete Section To Take A Sample From
- Choose a hidden area – Look behind furniture or appliances.
- Avoid edges and corners – They might have accumulated dirt or different shades.
- Opt for a mid-wall section – It represents the most used paint.
Considering Lighting And Wear On The Paint Surface
Examine the light exposure of the wall. Natural and artificial light can change how paint looks. Select a spot with consistent lighting.
Assess the wear and tear. Pick an area that’s not damaged or faded. This ensures a true color match.
| Condition | Area to Avoid | Preferred Sample Area |
|---|---|---|
| Bright sunlight | Directly exposed walls | Consistent light exposure |
| Heavy wear | Near door frames or light switches | Less handled sections |
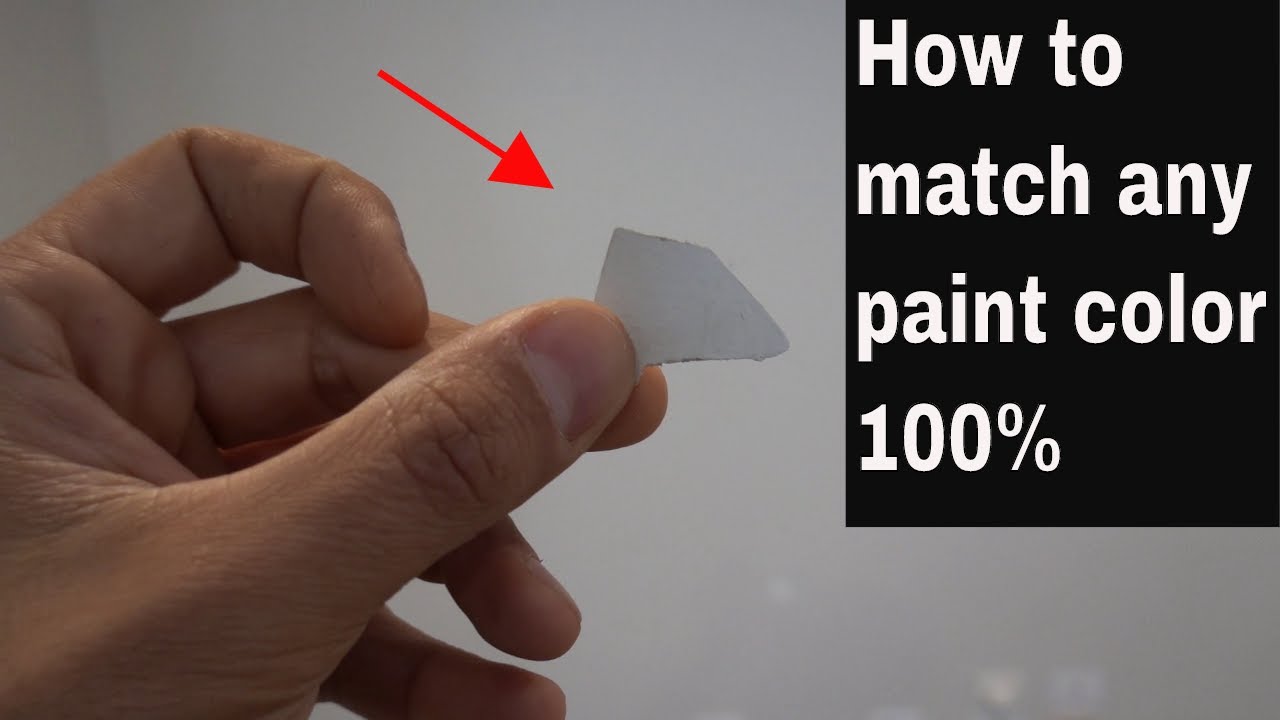
Credit: m.youtube.com
The Step-by-step Sampling Guide
Welcome to the ‘The Step-by-Step Sampling Guide’. Finding the perfect paint for your space often starts with a sample. Before you commit to a color, it’s smart to test it out. But how can you get a sample from an existing wall? This guide walks you through the simple process.
Cutting A Small Sample Of The Paint
Gather these tools:
- Utility knife
- Paint scraper
- Ruler or straight edge
Follow these steps:
- Choose a hidden spot on the wall.
- Place the ruler against the wall for a straight line.
- Use the utility knife to cut a small square. Make sure the square is at least 1-by-1 inch.
Peeling The Sample Off Carefully To Prevent Damage
Once you’ve cut the square, it’s time to remove it:
- Slide the paint scraper underneath the paint gently.
- Lift the corners and peel away evenly.
- If the paint doesn’t lift easily, score the edges again with the knife.
- Keep the sample flat to avoid bending or cracking.
This sample is now ready to take to the paint store. Compare it with new swatches to find a match. Always remember to repair the wall after removing paint samples. A bit of spackle and touch-up paint make it look like nothing happened. Now go color match with confidence!
Post-sampling Procedures
Once you’ve carefully collected your paint sample, the task isn’t quite finished yet. Proper post-sampling procedures make all the difference. These steps ensure lasting results and a neat wall appearance. Let’s walk through what to do next.
Storing The Paint Sample Correctly
Storing the paint sample is crucial for a perfect color match. Follow these simple steps:
- Place the sample in a small, sealable plastic bag.
- Avoid folding or bending the sample to prevent color alteration.
- Label the bag with the room and wall details for easy reference.
- Keep the sample away from sunlight and extreme temperatures.
Restoring The Sampled Wall Area
Fixing the wall area after sampling is just as necessary:
- Clean the area to remove any dust or debris.
- Apply a small amount of spackle with a putty knife.
- Wait for the spackle to dry. Sand it down smoothly.
- Wipe the area again before applying touch-up paint.
Restoration keeps your walls looking their best. Matched paint brings back your wall’s seamless look.
This can be a table format if you want to outline steps vs tools needed, etc.
| Step | Action | Tool Needed |
|---|---|---|
| 1 | Clean the Area | Cloth |
| 2 | Apply Spackle | Putty Knife |
| 3 | Dry and Sand | Sandpaper |
| 4 | Touch-Up Paint | Small Brush |

Credit: www.amazon.sg
Using Your Paint Sample Effectively
Once you’ve got a paint sample, it’s time to make the most of it. The right match can transform a room. Follow these steps to ensure a perfect color selection for your home improvement project.
Matching At The Paint Store
Bring your paint sample to a local paint store. The experts there will compare your sample with their swatches. They use a spectrophotometer, a tool that analyzes color precisely. This process guarantees the closest match. Ensure the sample is at least one inch square for the best results. Remember, lighting affects color perception. Ask for samples to test at home under different lighting conditions.
Digital Tools And Apps For Paint Matching
Technology offers quick, handy solutions. Use digital tools and apps for matching colors. These apps let you take a photo and find the nearest paint color. They’re not perfect, but they’re a good starting point. Always test actual paint samples before making a final decision. Below is a list of popular paint-matching apps:
- ColorSnap by Sherwin-Williams
- Project Color by The Home Depot
- ColorSmart by BEHR
Frequently Asked Questions Of How To Get A Paint Sample From A Wall
How Do You Get A Paint Sample Off A Wall?
To obtain a paint sample from a wall, gently score a small square with a utility knife. Peel off the loosened paint with a putty knife. Ensure you don’t damage the underlying wall surface.
How Do You Get Wall Paint Samples?
Visit your local hardware store or paint retailer to obtain wall paint samples. Many offer small, inexpensive pots or swatches you can take home to test colors on your walls.
How Do I Find The Exact Paint Color Of My Wall?
To find your wall’s exact paint color, peel off a small chip and take it to a local paint store for matching. They can scan it and provide a precise color match.
How Big Of A Paint Chip Do I Need To Match?
A quarter-sized paint chip is typically sufficient to get an accurate match at your local paint store. Ensure the sample is clean and free of debris for the best results.
Conclusion
Gathering a paint sample from your wall needn’t be daunting. With the right tools and gentle technique, color matching becomes effortless. Remember to patch up any test spots for a pristine finish. For home improvement projects, these simple steps ensure your walls always reflect your desired aesthetic.
Happy painting!


