


To fix a kitchen sink leak, first identify the source, then tighten or replace the faulty component. Turn off the water supply before beginning any repairs.
Dealing with a leaky kitchen sink can be a daunting prospect for homeowners and tenants alike. Prompt attention is essential to prevent potential damage to cabinetry and to avoid the growth of mold. A typical sink leak might stem from a worn-out seal, loose pipes, or damaged plumbing fixtures.
By catching the problem early, you can save yourself time and money, and perhaps avoid the need for professional intervention. DIY enthusiasts will often find that with the right tools and a bit of knowledge, fixing a kitchen sink leak is a manageable task. Knowing how to approach this household issue not only enhances your home maintenance skills but also ensures a safe and dry kitchen environment.
Identifying the source of sink leaks is a crucial first step in repairing any kitchen sink problem. A leak under the sink can lead to significant damage if not addressed promptly. By paying close attention to the signs and understanding whether the leak originates from the faucet or the drain, homeowners can take the necessary measures to fix the issue effectively.
Spotting The Signs Of A Leak
Leak signs are often visible to the naked eye. Look for the following:
- Water Pools: Water accumulating under the sink.
- Discoloration: Staining or warping of cabinetry.
- Dampness: Musty odors or visible mold growth.
- Water Noises: The sound of dripping when taps are off.
Distinguishing Between Faucet And Drain Leakage
Determining the leakage source is vital:
| Faucet Leak | Drain Leak |
|---|---|
| Occurs when the tap is on | Visible when the sink is draining |
| Water drips from the spout | Water seeps at the drain connection |
| Often due to worn washers/o-rings | Could signify a broken seal or pipe |
By identifying these key differences, homeowners can proceed with targeted repairs to stop the leak.
Credit: www.homedepot.com
Tools And Materials You’ll Need
Before diving into the response process for a leaky kitchen sink, having the right tools and materials is crucial. Below are clear guides on what you’ll need, ensuring you’re fully prepared for a watertight repair job. Remember, a well-equipped toolbox is the key to tackling any leaks with confidence.
Essential Tools For Leak Repair
Here’s a list of essential tools to get the repair done:
- Adjustable Wrench: Ideal for loosening and tightening nuts and fittings.
- Pipe Wrench: For grip and leverage on pipes.
- Plumber’s Pliers: Multipurpose tool for tightening and holding.
- Screwdriver Set: A must-have for removing and securing fixtures.
- Bucket: To catch any dripping water during the repair.
- Flashlight: Helps you see under the sink clearly.
Sealants And Tapes For A Watertight Fix
Select the right sealing materials:
| Sealant/Tape Type | Use Case |
|---|---|
| Plumber’s Putty | Seals sink baskets and fixtures. |
| Silicone Caulk | Waterproof sealant for edges and joints. |
| Thread Seal Tape | Secures threaded pipe connections. |
| Epoxy Putty | Fills and repairs larger gaps or cracks. |
| Leak Stopper Tape | Instant solution to stop active leaks temporarily. |
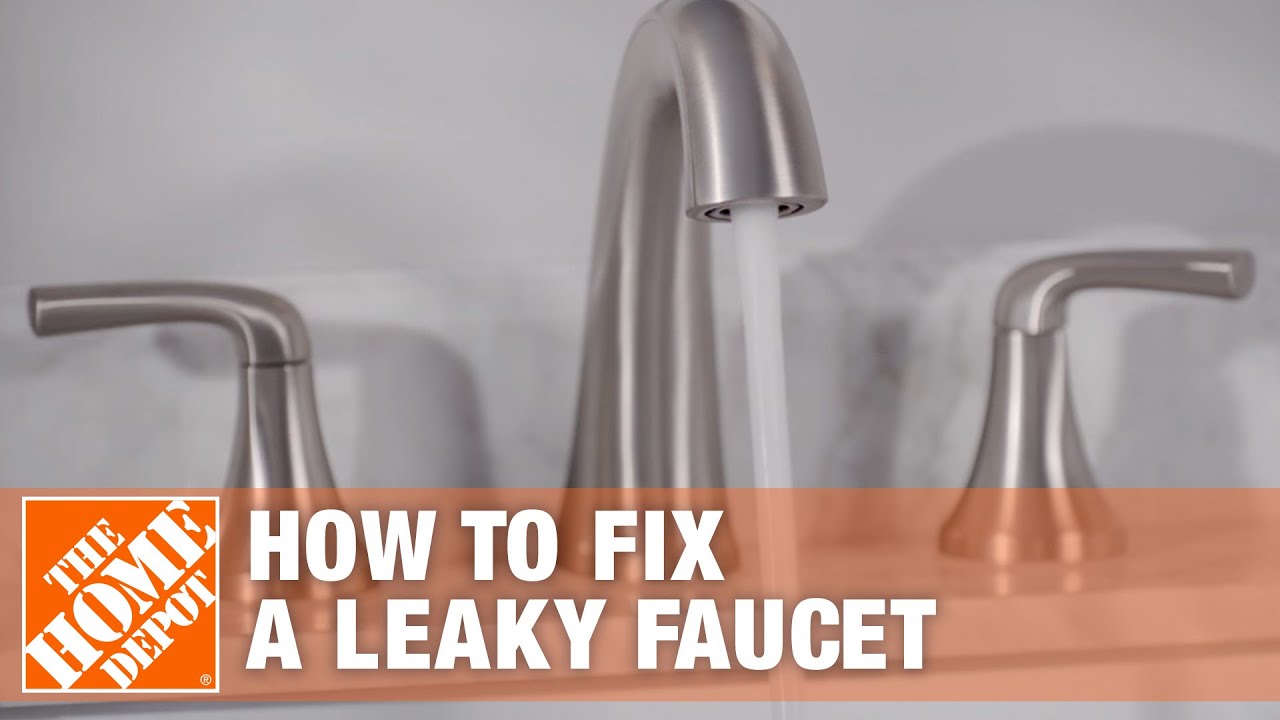
Step-by-step: Faucet Leak Repair
A dripping faucet is not just a minor annoyance, but can lead to higher water bills and damage to your kitchen sink area. Tackling a kitchen sink faucet leak repair can be a simple DIY task if you follow the right steps. Let’s dive in and stop that drip with an easy-to-follow, step-by-step guide.
Disassembling The Faucet
Begin by turning off the water supply to your sink. Usually, you’ll find the valves beneath the sink.
Follow these actions to take apart your faucet:
- Use a flathead screwdriver to remove the faucet handle cap.
- Unscrew the handle screw with a Phillips head screwdriver.
- Lift off the handle and set it aside.
- Take out the stem assembly by unscrewing it.
Replacing Worn Out Washers
With the faucet disassembled, inspect the washers. Bad washers often cause leaks.
To replace them, do the following:
- Remove the old washer from the stem assembly.
- Match it with a new one from a hardware store.
- Secure the new washer in place
Reassembling And Testing For Leaks
After you replace the washer, it’s time to reassemble the faucet.
Put the faucet back together like this:
- Place the stem assembly back in the faucet body.
- Screw the handle back in place.
- Replace the handle cap.
Turn on the water supply and check for leaks. No water should escape from the faucet when it’s off.

Credit: www.angi.com
Fixing Common Drain Pipe Issues
Leaky kitchen sinks can cause frustration and water damage. Most leaks stem from common drain pipe issues. Identifying and fixing these problems early saves time and money. This guide will focus on typical drain pipe troubles and the step-by-step solutions to patch them up, ensuring a dry and happy kitchen environment.
Tightening Connections And P-traps
Loose connections are often culprits in sink leaks. Inspecting the connections where the pipes meet is the first step.
- Clear the cabinet under the sink.
- Check for wet spots on the pipes.
- Use a wrench to gently tighten each connection.
The P-trap, which is the curved section of the drain, can also come loose over time.
- Place a bucket beneath the P-trap to catch water.
- Unscrew both ends of the P-trap manually or with pliers.
- Clean the trap and reassemble, ensuring a tight seal.
Applying Plumber’s Putty Or Silicone
If tightening connections does not solve the leak, sealant is the next step.
| Material | Use Case | Application |
|---|---|---|
| Plumber’s Putty | For drains and fittings | Apply to the base before installing the part |
| Silicone Sealant | Non-pressurized parts | Apply around the seam, smoothing it out |
Proper application is key to a watertight seal. Follow these steps:
- Wear gloves to protect your hands.
- Ensure surfaces are clean and dry.
- Apply putty or silicone as directed.
- Wipe away any excess material.
- Allow it to cure according to the product instructions.
Maintenance Tips To Prevent Future Leaks
Leaky kitchen sinks can inflict costly water damage to your home. But with proper upkeep, you can stave off future leaks. Simple, consistent maintenance can seal the deal against unwanted drips. Embrace these proactive tips for a dry, leak-proof kitchen.
Regular Cleaning To Avoid Clogs
Stop clogs before they summon leaks. Clogs can strain pipes, leading to leaks. Here’s a routine to keep your kitchen sink clear:
- Dispose of waste properly. Don’t let food scraps down the drain. Compost or trash them instead.
- Use strainers. Catch debris with mesh sink strainers.
- Clean regularly. Weekly cleaning prevents buildup. Hot water and vinegar work well.
- Clear deep clogs. Use a plunger or a plumber’s snake when necessary.
Periodic Checks On Seals And Joints
Inspect seals and joints to catch leaks early. Wear and tear can compromise these critical points. Follow this checklist for airtight seals:
| Area | Action | Frequency |
|---|---|---|
| Faucet Base | Check for moisture or warping. | Monthly |
| Sink Drain | Ensure the sealant isn’t cracked or peeling. | Every 3 Months |
| Pipes Under Sink | Look for corrosion or damp spots. | Biannually |
| Supply Line Joints | Test for tightness and no leakage. | Annually |
Note any irregularities during your inspections. Small drips or condensation suggest it’s time for a quick fix or a professional look-over.
When To Call A Professional Plumber
Encountering a leaky kitchen sink often leads to a quick DIY fix. Despite the readiness to roll up your sleeves, certain situations necessitate professional intervention. Understanding when to call a professional plumber is vital for a long-lasting solution. This section explores situations and reasons to seek expert plumbing services.
Complications That Require Expertise
Not all kitchen sink leaks are straightforward. Professional plumbers step in when complications arise:
- Recurrent leaks after multiple attempts to fix them.
- Leaks that are inaccessible or located in a complex piping system.
- Signs of water damage such as mold or rotten cabinetry.
- The need for specialized tools that aren’t commonly available.
Cost-benefit Analysis Of Diy Vs Professional Repair
Deciding between a DIY approach and hiring a professional can be challenging. Conduct a cost-benefit analysis to make an informed decision:
| DIY Repair | Professional Repair |
|---|---|
| Pros: Lower initial cost, sense of accomplishment. | Pros: Expert handling, time-efficient, warranty. |
| Cons: Risk of incorrect repair, potential for future leaks. | Cons: Higher upfront cost compared to DIY. |
Consider the potential long-term savings of avoiding further damage when you opt for professional repair services.
Frequently Asked Questions On How To Fix Kitchen Sink Leak
How Do I Stop My Kitchen Sink From Leaking?
Tighten the sink’s faucet connections and apply plumber’s tape to stop leaks. Replace worn out washers or gaskets. Seal any gaps with silicone caulk. If these steps fail, consult a professional plumber.
Why Is My Sink Leaking From The Bottom?
Your sink may leak from the bottom due to worn-out washers, loose plumbing connections, damaged gaskets, or a cracked sink basin. Regular checks can prevent leakage issues.
Why Is My Kitchen Sink Faucet Leaking?
Your kitchen sink faucet may leak due to worn-out O-rings, a deteriorated valve seat, or a faulty washer. Regular use can cause these parts to break down over time, necessitating replacement to prevent dripping.
What Can I Use To Seal A Leak Under The Sink?
To seal a leak under the sink, use waterproof silicone sealant, plumber’s putty, or epoxy putty. Tighten any loose pipe connections and replace worn-out washers or gaskets if needed.
Conclusion
Repairing a kitchen sink leak is a task within your reach. With the right tools and guidance, a watertight seal is achievable. Tackling this DIY project not only saves money but also grants a sense of accomplishment. For further plumbing insights, keep following our blog.
Seal the deal on home repairs, and dive into your next challenge with confidence!


