


To fix a crack in a fiberglass tub, start by cleaning the area and then applying a fiberglass repair kit. Ensure the tub is dry and follow the kit instructions for the best results.
Repairing a crack in a fiberglass tub can enhance its lifespan and maintain bathroom aesthetics. A cracked tub not only undermines the visual appeal but also risks water damage if not addressed promptly. Tackling this repair project requires precision and attention to detail.
Homeowners can easily manage small repairs with store-bought fiberglass repair kits, saving on the cost of professional services or tub replacement. The repair process involves a thorough cleaning, application of a bonding agent, reinforcement with fiberglass cloth, and a final layer of sealant. Proper curing times are pivotal to ensure a sturdy repair, preserving the functionality and integrity of your bathtub. Remember to work in a well-ventilated area and use protective gear to avoid inhaling fumes or coming into contact with the repair materials.
Assessing The Damage
Discovering a crack in your fiberglass tub can prompt an array of concerns. Before deciding on a remedy, the first step is to evaluate the damage. Proper assessment not only guides the repair process but helps prevent future issues. Let’s dig into the specifics of what to look at when your tub takes a hit.
Size Matters: Evaluating Crack Dimensions
Determining the length and width of the crack is fundamental. This will influence the materials and methods required for repair. Use a straightforward approach:
- Clean the area around the crack
- Mark the endpoints of the crack
- Measure the length and width with a ruler
Cracks under an inch often need simple fixes. Larger cracks might demand more intensive procedures. Noting these dimensions is a critical first task for a successful patch-up job.
Analyzing Crack Depth And Position
The crack’s depth and location are just as important as its size. Deep cracks compromise the tub’s integrity. Shallow ones might be more about appearance.
- Feel the crack with a toothpick to gauge depth.
- Observe if the crack is on a flat surface or corner.
- Note if it’s near plumbing fixtures.
Cracks on flat surfaces are simpler to mend. Those on curves or near fixtures can be trickier and might require experienced hands.
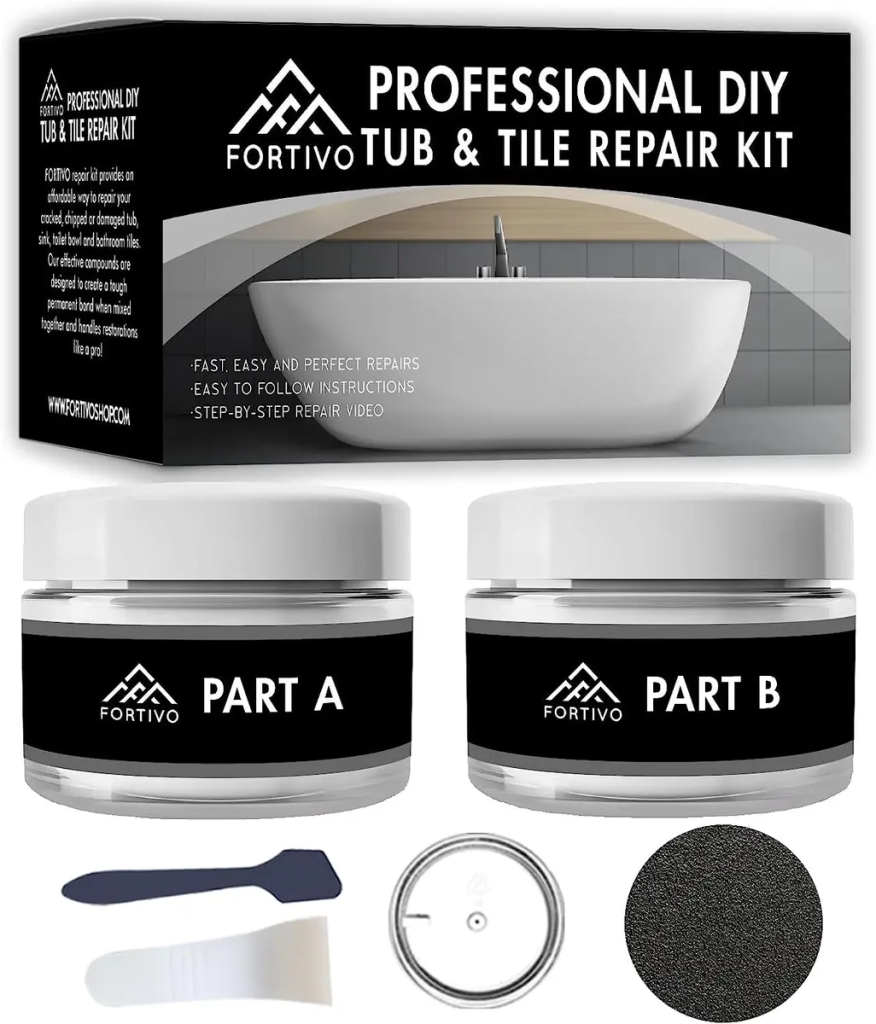
Credit: www.ebay.com
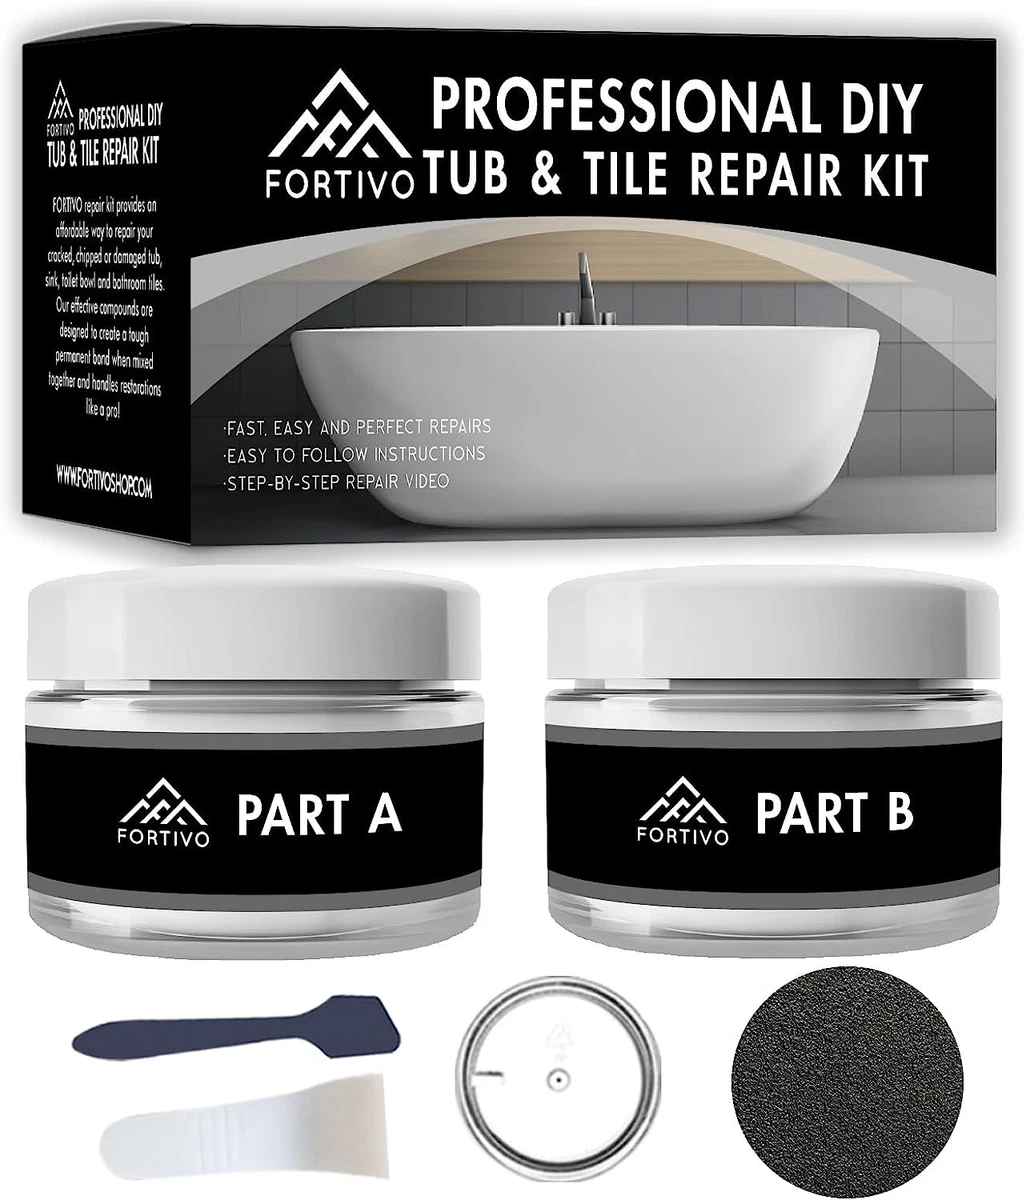
Gathering The Right Tools And Materials
When facing a crack in a fiberglass tub, preparation reigns supreme. Embarking on this DIY journey demands a precise set of tools and materials. Secure these essentials, and repair success is within grasp. Let’s ensure that the repair journey starts on the right foot with a kit that covers all bases.
The Essential Repair Kit
Gather these must-have items to fix that tub:
- Fiberglass repair kit: This includes resin and hardener.
- Sandpaper: Get various grits for smoothing surfaces.
- Paintbrush: To apply resin accurately.
- Utility knife: For trimming excess repair material.
- Pair of scissors: For cutting fiberglass cloth.
These tools form the backbone of your repair toolkit.
Safety First: Protective Gear
Safety cannot take a back seat. Suit up with these items:
| Protective Item | Purpose |
|---|---|
| Gloves | Keep hands free from chemicals. |
| Goggles | Shield eyes from splashes. |
| Respirator mask | Prevent inhaling fumes. |
| Long-sleeve shirt | Protect skin from fiberglass. |
Equip each item before starting repairs to ensure protection.
Preparation For The Repair
Discover the proper steps to prepare for a fiberglass tub repair that ensure a flawless fix. Preparing the tub correctly is key to a successful repair. Without it, even the best materials won’t save the crack from returning. Let’s dive into the crucial stages of preparation.
Cleaning: The Crucial First Step
Begin with a thorough cleaning process. Any dirt or soap scum can prevent the repair materials from adhering properly. Use a non-abrasive cleaner and a sponge to cleanse the area. Rinse it well and let it dry. For the best bond, cleanliness is non-negotiable.
Key points for an effective clean:
- Avoid harsh chemicals – They can damage the fiberglass.
- Wear gloves – Protect your hands from dirt and cleaning agents.
- Ensure ventilation – Open windows to clear fumes and aid drying.
Sanding: Creating A Smooth Base
Next, sanding forms a smooth base around the crack. You need fine-grit sandpaper for this task. Gently sand around the crack to buff away any irregularities. This creates a better surface for the repair material to grip.
| Sanding Tips | Why It Matters |
|---|---|
| Use a circular motion | Creates even surface |
| Keep area dry | Wet sanding can cause more damage |
| Avoid oversanding | Prevents weakening the structure |
With the area now clean and smooth, the tub is ready for the repair material. Humidity and temperature can affect curing, so ensure the environment is optimal. This preparation can truly make or break the bond your repair will have. Approach with care and precision for a tub that’s as good as new.
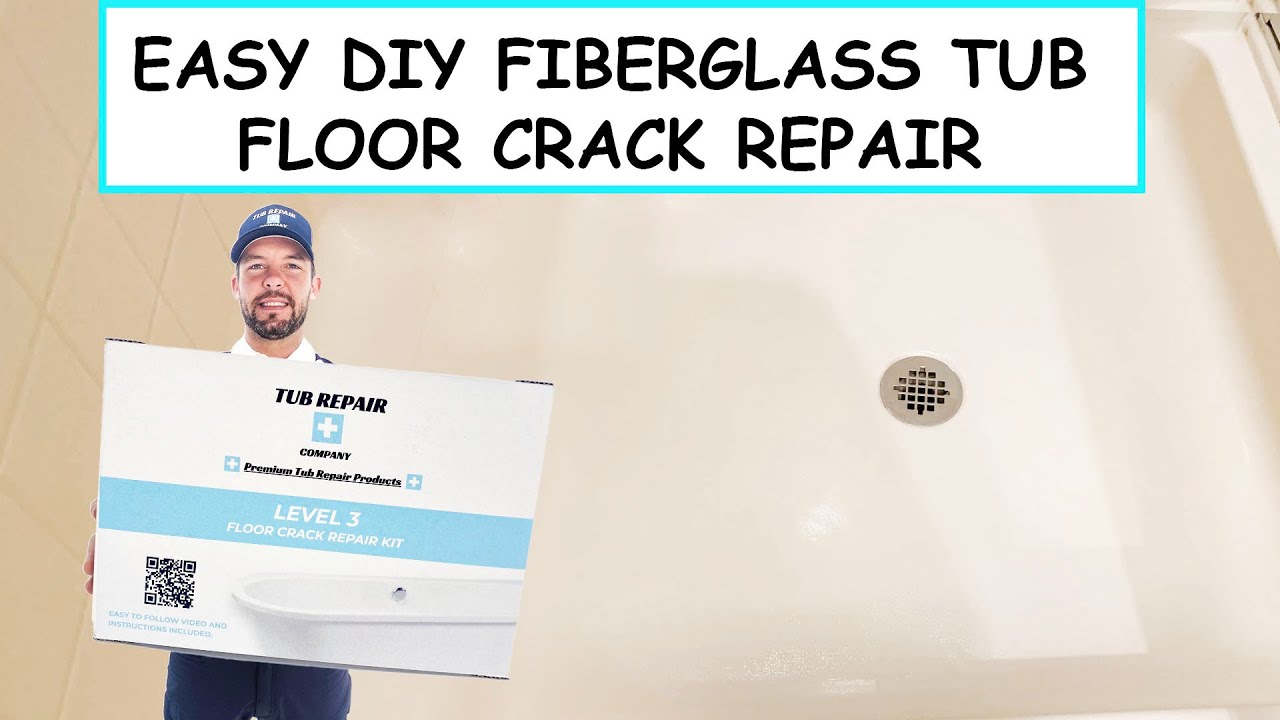
Credit: www.youtube.com
Executing The Repair
Cracks in a fiberglass tub need attention before they grow. Let’s dive into fixing that troublesome crack. Your tub deserves to be as good as new!
Applying The Filler
Begin with a clean surface. Use acetone to wipe the crack. This ensures the filler bonds well. Wear gloves to protect your hands.
- Mix the filler according to the instructions.
- Apply the filler carefully over the crack. Use a spatula for precision.
- Smooth it out for an even finish. No bumps or ridges should remain.
Curing Time: Patience Is Key
Curing is vital for a strong repair. Don’t rush this step!
- Leave the filler to cure. Check the product’s curing time.
- Avoid using the tub during this period. It might be tempting, but wait!
- Once cured, sand the area for a smooth, seamless finish.
With filler set and sanded, your tub is ready for a new coat of paint. And just like that, it’s like the crack was never there!
Finishing Touches
After repairing a crack in a fiberglass tub, it’s time for final touches. These steps will ensure the repair blends seamlessly with your tub.
Sanding The Filler: Blending In
To start, sand the filler gently. Use fine-grit sandpaper. This makes the surface smooth. Ensure to sand evenly around the repair.
- Start with a coarser sandpaper like 220-grit
- Progress to finer grits such as 400 for a smoother feel
- Wipe the dust with a damp cloth when done
Polishing: Restoring The Shine
Polish the area to restore the tub’s shine. Use a rubbing compound for fiberglass.
- Apply the compound with a clean rag
- Rub in a circular motion for even coverage
- Buff the area until it shines like new
End with a good quality wax. This protects the repair and leaves your tub looking great.
Preventive Measures
Keeping a fiberglass tub in top shape requires regular attention. This approach not only maintains its sleek look but also goes a long way in preventing those unsightly cracks from ever forming. Here, we explore several straightforward strategies that ward off damage and preserve your tub’s integrity over time.
Regular Maintenance Tips
Consistent upkeep is key in extending the life of your fiberglass tub. Follow these simple steps to keep your tub looking new:
- Clean regularly using non-abrasive cleaners.
- Use a soft sponge or cloth to avoid scratches.
- Inspect seams and edges often for early signs of wear.
- Rinse thoroughly after each use to prevent soap scum buildup.
Avoiding Future Cracks
To keep your fiberglass tub free of cracks:
| Do’s | Don’ts |
|---|---|
| Apply a protective coat annually. | Drop heavy objects in the tub. |
| Use a bath mat for extra grip. | Stand on the edges or surfaces. |
| Ensure no prolonged heavy weight. | Ignore hairline cracks; fix them promptly. |
Adhering to these rules can significantly diminish the risk of cracks. Fostering these habits builds a safeguard around your tub, preserving its condition for the long haul.

Credit: www.amazon.com
Frequently Asked Questions Of How To Fix A Crack In A Fiberglass Tub
Can A Cracked Fiberglass Tub Be Repaired?
Yes, a cracked fiberglass tub can be repaired. The process involves cleaning the area, applying a filler, and then sanding it down. It’s then finished with a coat of resin or gelcoat for a smooth appearance.
What Materials Do I Need For Fiberglass Tub Repair?
To fix a crack in a fiberglass tub, you’ll need fiberglass mesh, epoxy resin, hardener, sandpaper, and gelcoat. Additionally, protective gloves and a mask are recommended for safety.
How Long Does It Take To Fix A Crack?
Repairing a crack in a fiberglass tub typically takes a few hours to complete. This includes prep work, application of materials, and drying time. Full curing, however, might take up to 48 hours.
Is Diy Fiberglass Tub Repair Reliable?
DIY fiberglass tub repair can be reliable if done correctly. Using the right materials and following proper repair procedures are crucial for a long-lasting solution.
Conclusion
Repairing a crack in your fiberglass tub doesn’t need to be daunting. With the right tools and a bit of patience, you can restore your tub to its former glory. Regular maintenance can prevent future damage, ensuring your bathtub remains a pristine sanctuary for years to come.
Remember, a successful fix is just a few steps away!


