


Yes, you can paint over Drylok once it’s fully cured. Ensure the Drylok is clean and dry before applying paint.
Painting over Drylok can revitalize spaces like basements or outdoor masonry, where this sealant is commonly applied. Drylok is known for its waterproofing capabilities, making it a popular choice among homeowners looking to protect their concrete and masonry surfaces. Before adding a fresh coat of paint, it’s crucial to give the Drylok ample time to cure, which typically takes about 24 to 48 hours in good conditions.
This wait guarantees optimal adhesion and finish for your topcoat. Choosing the right type of paint to overlay is also essential; latex or acrylic paints are often recommended for their compatibility with Drylok’s texture and composition. Correct preparation and application ensure lasting results, transforming functional spaces into visually appealing areas.
Credit: www.homedepot.com
The Fundamentals Of Drylok
Drylok is a powerhouse in waterproofing, transforming porous surfaces into impermeable fortresses. Homeowners and DIY enthusiasts alike turn to Drylok when tackling moisture issues in areas exposed to dampness. Understanding the fundamentals of Drylok provides a solid foundation to tackle any project with confidence.
Comprehending Drylok’s Core Purpose
Drylok serves a vital role in protecting surfaces from water intrusion. Ideal for basements and cellars, Drylok creates a barrier that prevents water penetration and damage. Its primary purpose is not only to shield the substrate but also to maintain a dry, usable space free from mold and mildew, which are common in damp environments.
Key Components And Durability
Drylok’s formula is a blend of resilient materials that contribute to its durability:
- Water-based resins ensure easy cleanup and low odor.
- Mineral ingredients lend strength and mold resistance.
- Additives improve adhesion and longevity.
The result is a tough coating that stands the test of time, resisting wear and tear, and maintaining its waterproofing properties under various conditions.
Before The Brush: Prepping For Paint
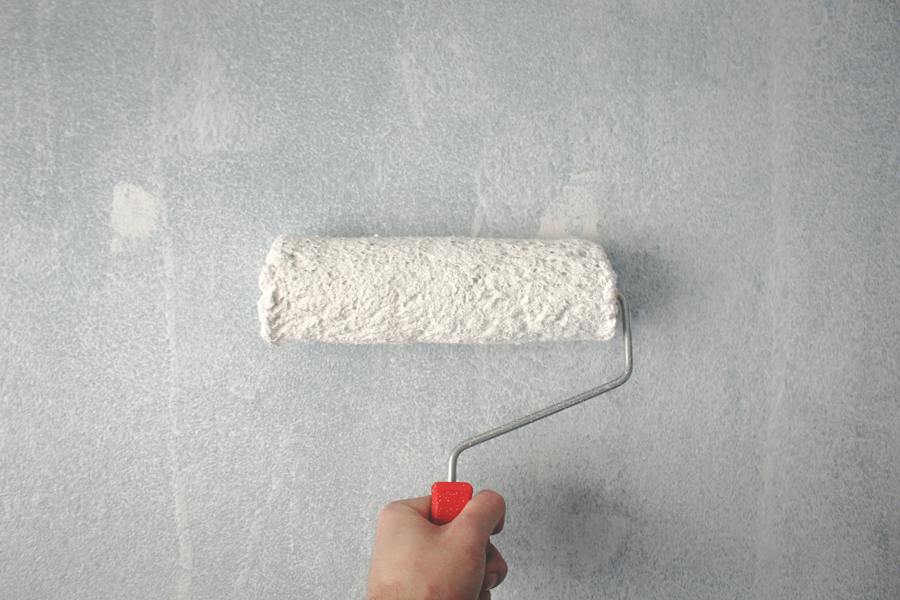
Embarking on a fresh painting project brings excitement and a touch of anxiety. Specifically, painting over Drylok requires attention to pre-painting preparations. Proper setup is crucial to ensure the Drylok is ready to receive a new coat of paint, achieving both a pleasing look and long-lasting durability.
Surface Examination
First things first, a thorough surface evaluation is essential. Take a close look at the Drylok painted area. Check for any flaking, chipping, or unusual textures. If the surface feels smooth and looks intact, it’s good news.
Bold patches or cracks need addressing before proceeding. These could hint at underlying issues that might haunt your painting efforts later.
Cleaning: A Prerequisite
Cleanliness is not just next to godliness; it’s key to painting. Dirt, dust, and oils accumulate over time and can hinder paint adhesion. Use a mild detergent and a stiff brush to scrub the surface thoroughly.
Rinse well with water and allow it to dry completely. Ensure no residues remain, as they can cause the new paint to peel or bubble.
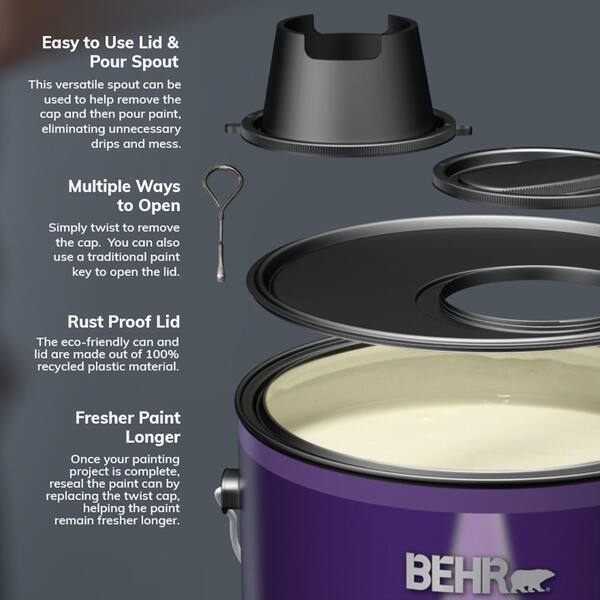
Primed For Success? Analyzing The Need For Primers
Wondering about primers? They are not always necessary over Drylok. Drylok itself is designed to act as a primer and sealant. If the existing surface is clean, in good shape, and the Drylok is not glossy, you might skip the primer.
Nonetheless, if you are shifting from a dark to a light color, or there are stains, a primer can ensure a uniform finish for your topcoat. Check your paint’s specifications. Some paints demand a primer regardless of the condition of Drylok.
Paint Compatibility: Choosing The Right Type
We often wonder can you paint over Drylok? To answer this, understanding paint compatibility is key. It ensures that your new paint adheres well and looks great. Let’s explore the best paint choice for covering Drylok.
Water-based Vs. Oil-based Paints
| Features | Water-based Paint | Oil-based Paint |
|---|---|---|
| Adhesion | Good on Drylok | May require primer |
| Drying Time | Faster | Slower |
| Clean Up | Soap and water | Chemical solvents |
The choice between water-based and oil-based paints is crucial. Water-based paints are easy to work with and dry quickly. They stick well to Drylok. Oil-based ones take longer to dry and may need a primer. Both have different cleanup methods. Check which one the Drylok can handle.
Importance Of Breathability In Paint Selection
- Breathable paints allow moisture to escape.
- Trapped moisture can cause mold or mildew.
- Drylok’s breathability must match the paint.
Picking a paint that breathes is important. It stops water from getting trapped. Trapped water can lead to mold. Make sure your paint lets walls breathe, just like Drylok does.

Credit: www.facebook.com
Application Techniques: Best Practices
Tackling a painting project with Drylok requires savvy application techniques. These steps ensure a lasting finish. Here’s how to ace the application process.
Layering The Coats
Applying Drylok in layers is essential. A single heavy coat won’t do. Proper layering guarantees maximum waterproofing. Follow these tips:
- Start thin: Apply a light base coat.
- Wait and assess: Check for coverage gaps.
- Add more: Apply subsequent coats as needed.
Drying Time: Patience Is Key
Drylok’s effectiveness hinges on correct drying time. Here’s the optimal approach:
- Read the label: Each product’s drying time varies.
- Avoid rush: Let the paint dry completely between coats.
- Plan for conditions: Humidity affects drying.
Avoiding Common Painting Pitfalls
Dodging common mistakes can make or break a paint job. Keep these factors in mind:
| Pitfall | Solution |
|---|---|
| Uneven Coats | Use a consistent hand and check work frequently. |
| Ignoring Temperature | Paint in ideal conditions, usually 50°F to 90°F. |
| Skimping on Prep | Clean and prep surfaces thoroughly before painting. |
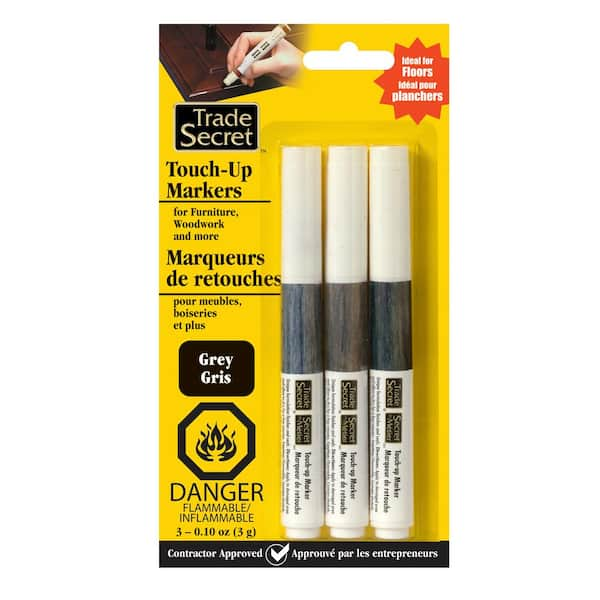
Maintenance And Touch-ups
Maintenance and Touch-Ups are key to preserving the effectiveness and look of Drylok applied surfaces. Proper care will ensure durability and continuous protection against moisture. Areas that experience high traffic or constant use may require occasional touch-ups. This section covers essential tips on repainting and maintaining Painted Drylok surfaces.
When To Repaint Over Drylok
Repainting over Drylok becomes necessary when you notice signs of wear or discoloration. Look for peeling, chipping, or any surface integrity issues. Before repainting, clean the surface thoroughly and allow it to dry. Ideally, touch-ups or complete repaints should occur during dry, mild weather conditions for optimal adherence and drying.
Long-term Care For Painted Drylok Surfaces
Long-term care extends the life of Drylok applications. Follow these straightforward steps for ongoing maintenance:
- Regular Cleaning: Clean surfaces with a mild detergent and water to prevent dirt accumulation.
- Inspect Regularly: Check for cracks or moisture seepage monthly.
- Reapply as Needed: Apply a new coat of Drylok when areas show significant wear.
For surfaces exposed to frequent moisture, consider applying a fresh coat yearly. Always follow the manufacturer’s instructions for the best results.
Credit: www.homedepot.com
Troubleshooting Common Issues
Encountering issues after applying Drylok can be a setback, yet with the right approach, these problems become manageable and fixable. This section delves into two common issues faced by homeowners and DIY enthusiasts: peeling and flaking, and dealing with moisture problems post-painting. Identifying the causes and implementing the correct fixes can ensure a long-lasting application of Drylok on your surfaces.
Peeling And Flaking: Causes And Fixes
Peeling and flaking after Drylok application might alarm you. Do not worry. These are problems that you can fix.
- Inadequate surface preparation can lead to adhesion issues.
- Moisture beneath the paint often causes peeling or flaking.
- High humidity during application can interfere with proper curing.
| Cause | Fix |
|---|---|
| Clean and prep surface properly. | Remove loose paint, clean with a wire brush, apply a new coat. |
| Address moisture issues. | Use a dehumidifier, fix leaks, ensure good ventilation. |
| Apply during low humidity conditions. | Check the weather, use a fan or air conditioner. |
Dealing With Moisture Problems Post-painting
Moisture can wreak havoc on Drylok painted surfaces. Addressing it early on is crucial. Here are steps:
- Identify the water source. It could be a leak or high interior humidity.
- Apply a waterproof sealant where necessary.
- Improve ventilation. Use fans or install vents, especially in high-moisture areas.
By tackling these common issues head-on, your Drylok painted surfaces will better withstand the test of time.
Frequently Asked Questions On Can You Paint Over Drylok
Can Drylok Be Painted Over Successfully?
Yes, Drylok can be successfully painted over if the surface is properly prepared. Ensure the Drylok is clean, dry, and free from any efflorescence before applying a quality latex paint. Test a small area first to check for compatibility.
What Types Of Paint Adhere Well To Drylok?
Latex-based paints adhere best to Drylok. These paints are compatible with Drylok’s chemical makeup, ensuring a strong bond. Always choose high-quality exterior latex paint for the best results and durability over Drylok.
How Do You Prepare Drylok For Painting?
Prepare Drylok for painting by cleaning the surface thoroughly. Remove any dust, dirt, or grease. If there’s efflorescence, a white powdery substance, scrub it off. Let the surface dry completely before applying paint.
Is Priming Necessary Before Painting Over Drylok?
Priming is not usually necessary before painting over Drylok, as Drylok itself serves as a primer. However, for the best color presentation and durability, some may opt to use a latex primer before the topcoat.
Conclusion
Wrapping up, painting over Drylok is possible with the right preparation. Ensure surfaces are clean and Drylok is fully cured. Select compatible paint types for best outcomes. For your next project, remember these tips to achieve a fresh, enduring finish.
Happy painting!


