To remodel a shower with tile, first remove the existing materials and prepare the surface. Next, choose waterproof backing, layout the design, and install the new tiles.
Remodeling a shower with tile can transform a bathroom from outdated to modern with robust durability. Starting with a clear project scope is essential for creating a stunning and functional result. Upgrading a shower involves numerous steps, including demolition, surface preparation, waterproofing, tile selection, and precise installation.
Each phase requires attention to detail to ensure the final product is not only visually appealing but also watertight and long-lasting. Homeowners often select tile for its versatility in color, size, and texture options, allowing personalization to fit any style preference. Proper tools and techniques are crucial throughout the process, and for those who are not seasoned in do-it-yourself projects, hiring a professional may be the best choice to guarantee quality workmanship.

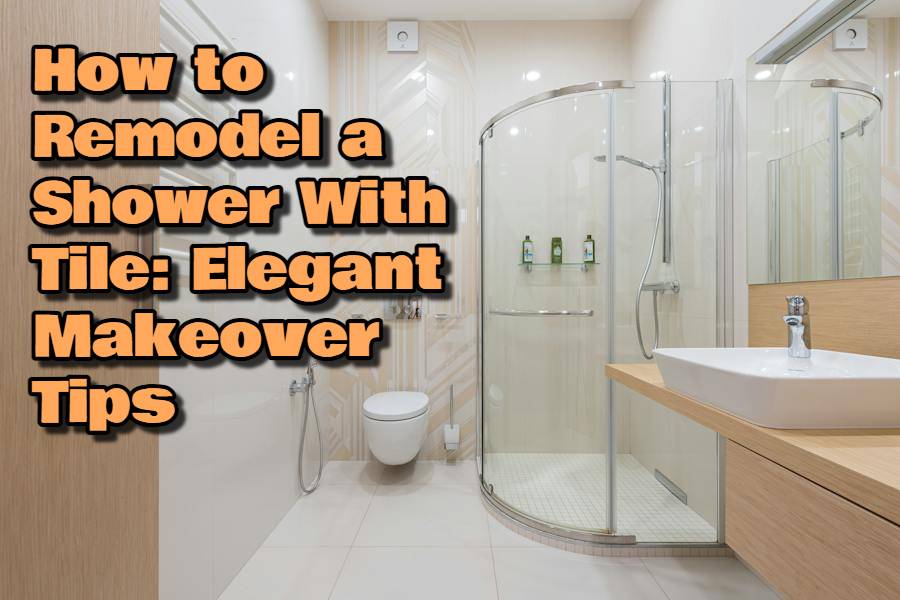
Credit: www.virginiakitchenandbath.com
Initial Considerations For A Tiled Shower Remodel
Initial considerations for a tiled shower remodel lay the groundwork for a transformative project. Transforming a shower isn’t just about picking the prettiest tile; it involves practical decisions that ensure the renovation’s success and durability.
Choosing Your Style And Tile Type
First steps include selecting a design that complements your bathroom’s overall feel. A cohesive look is key. Will it be sleek subway tiles or perhaps a luxurious marble effect? Remember, the tile you choose defines the space.
- Ceramic tiles – affordable and versatile
- Porcelain tiles – dense, more water-resistant
- Natural stone tiles – unique, upscale finish
- Glass tiles – reflective quality, opening up space
Estimating Project Costs And Timeline
Next, outline your budget and timeline. Accurate estimates prevent unexpected expenses and delays. Consider materials, labor, and any additional features like niches or benches.
| Item | Cost |
|---|---|
| Tile | $3-50 per square foot |
| Labor | $10-20 per square foot |
| Additional Features | $100-700 each |
Project duration can vary, usually taking several days to weeks.
Understanding Local Building Codes
Finally, learn about local regulations. Codes ensure safety and compliance; they outline specifics from waterproofing to floor slope. Ignorance of these rules might lead to fines or redoing work.
- Waterproofing requirements
- Tiling around electrical fixtures
- Drainage slopes
Securing necessary permits before you start is crucial. This avoids legal issues and guarantees proper inspections.

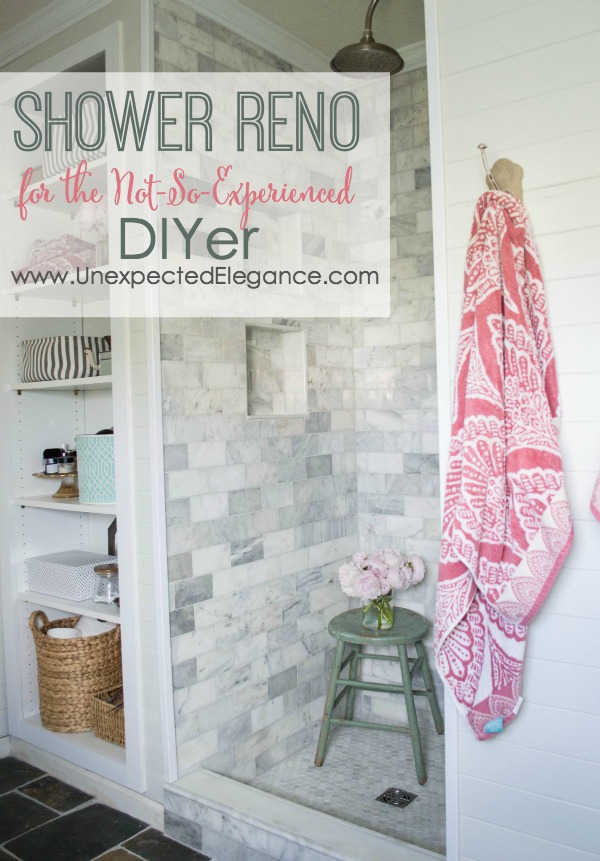
Credit: www.unexpectedelegance.com
Designing Your Dream Shower
Embark on a transformative journey to create a refreshing oasis in your own home. Designing your dream shower with tile brings endless possibilities to life. It’s where functionality meets aesthetic appeal, where every tile placement and color choice contributes to a daily sanctuary for rejuvenation. Let’s dive into crafting a tile shower that’s uniquely yours.
Exploring Layout Options
Choosing the right layout is critical for both appeal and ease of use. Start with envisioning the space available and function. Is a walk-in design ideal or maybe a corner unit? Here’s what to look out for:
- Space maximization: Each layout should make the best use of the available area.
- Ease of movement: Ensure enough room for comfortable navigation.
- Shower fixtures: Consider placement early to complement the layout.
Selecting A Color Scheme
Color sets the mood of your shower experience. Pick a palette that reflects your style:
- Neutral shades create a serene backdrop.
- Bold tiles can add drama and character.
- Accent colors give a vibrant touch to the design.
Remember, longevity is key. Timeless colors reduce the need for frequent updates.
Incorporating Functional And Decorative Features
Your shower should not only look good but also cater to your needs. Think of:
| Function | Decor |
|---|---|
| Niches for shampoos | Patterned tile bands |
| Built-in seats | Mosaic tile floors |
| Anti-slip textures | Accent walls |
Balance practicality with creativity to craft a shower space that delights in every aspect.
Preparing For The Remodel
Remodeling your shower with new tile can completely transform your bathroom. But careful planning and preparation are key. From gathering the right tools to demolishing the old shower, each step paves the way for a stunning new look.
Gathering Tools And Materials
Gather all necessary tools and materials before you start. This avoids delays. Here’s a quick checklist:
- Tape measure and level
- Tile cutter and nippers
- Drill and mixing paddle
- Notched trowel and rubber grout float
- Tile spacers and a sponge
- Thin-set mortar and grout
- Waterproofing membrane
Choose the right tile and grout. Consider size, shape, and color.
Demolition And Cleanup Basics
Removing old tiles can be messy. Protect the area and wear safety gear.
- Turn off water supply and remove fixtures.
- Use a hammer and chisel to loosen tiles.
- Remove debris and clean the area.
Prepping The Space For New Tiling
Prepare walls for new tile. Ensure they’re smooth and clean.
Check for moisture damage. Repair if needed.
Install backer board for a solid base. Seal seams with waterproof tape.
Apply waterproofing to prevent leaks.

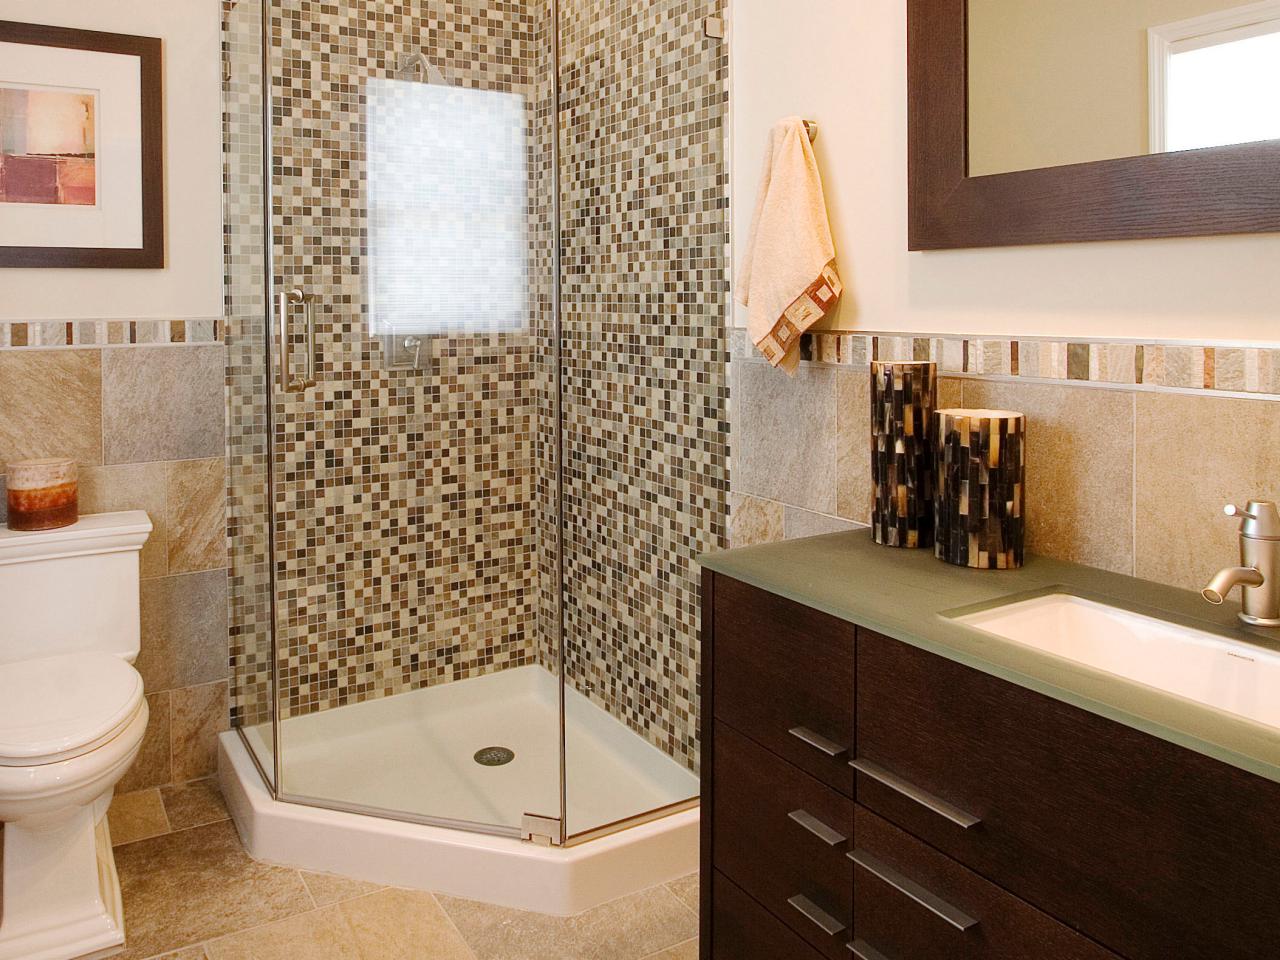
Credit: www.hgtv.com
Installation Techniques For Longevity
Long-lasting shower remodels start with expert installation techniques. Careful consideration of every step ensures that your tiled shower withstands the test of time. Dive into the essential strategies to achieve a shower that looks not only stunning but also endures the daily splash.
Waterproofing Your Shower Area
Preventing moisture damage is crucial. Start by installing a vapor barrier before the backer board goes up. Use a seamless waterproofing membrane over the solid backing. Ensure that the corners and seams are properly sealed. This acts as your defense against water seepage, which can lead to mold and structural damage. Consider these key steps:
- Apply a waterproofing primer to clean, dry walls.
- Install the waterproof membrane up to the shower height.
- For extra protection, tape and seal all the seams.
Applying Adhesive And Setting Tiles
Choose the right adhesive for your type of tile. Thin-set mortar is commonly used for ceramic and porcelain tiles. A notched trowel creates ridges, ensuring an even application. Set each tile with consistent pressure. Check for level and alignment frequently. Spaces between tiles should be uniform. Here’s what you should focus on:
- Spread adhesive evenly with the trowel.
- Press tiles firmly into place.
- Use spacers for consistent gaps.
Grouting And Sealing For A Polished Finish
Once tiles are set, move onto grouting. Select a grout type compatible with the tile and expected wear. Mix the grout to a peanut butter consistency. Push it into the tile joints using a grout float. Wipe excess grout with a damp sponge. Seal the grout after it cures to lock out moisture. These final touches shouldn’t be overlooked:
- Apply grout in small sections.
- Clean surfaces with a sponge and clean water.
- Seal the grout after it fully dries.
Advanced Tiling Tips And Tricks
Transforming a shower with tile is a smart way to add style and durability. Yet, advanced tiling brings fresh challenges. Discover how to master intricate patterns, tackle uneven surfaces, and craft a safe, slip-resistant floor. Tiled showers not only elevate the look of a bathroom but, with these pro tips, will stand the test of time.
Working With Mosaic And Intricate Patterns
To start, arrange tiles without adhesive to preview the design. Mosaics demand attention to detail and a steady hand. Cut sheets to fit edges and around fixtures. Use tile spacers to maintain even gaps. Apply mortar with a notched trowel for a secure grip. Always check the pattern alignment before setting tiles in place.
Navigating Challenges With Uneven Surfaces
Uneven surfaces complicate tiling. Begin by applying a layer of thin-set to level the area. Use a straight edge to identify dips and bumps. Fill low spots; grind down high spots. A level surface ensures tiles lay flat and remain crack-free. Allow the leveling compound to dry completely before tiling.
Creating A Slip-resistant Floor
Bathroom safety is vital. Select tiles with a slip-resistant texture for shower floors. Add grout lines for extra traction. Ensure the floor slope directs water towards the drain. This minimizes pooling and creates a safer surface. Treat tiles with a sealant to preserve grip and prevent mold growth.
Adding The Finishing Touches
Adding the Finishing Touches to your shower remodeling project with tile is both thrilling and critical. It transforms a simple renovation into your personal spa-like oasis. Fixtures and accessories are not just icing on the cake; they define your shower’s personality. Proper maintenance ensures your new shower sparkles for years. Lastly, a final checklist ensures everything is perfect before the big reveal.
Selecting Fixtures And Accessories
Choosing the right fixtures and accessories can breathe life into your shower. You should consider:
- Style Compatibility: Match with your tiles for a cohesive look.
- Functionality: Ensure they meet your needs and are user-friendly.
- Quality: Opt for durable materials to withstand moisture.
A harmonious balance between design and utility makes your shower stand out.
Maintaining And Cleaning Tiled Showers
Keep your tiled showers looking new with regular cleaning.
| Frequency | Action |
|---|---|
| Daily | Wipe tiles to prevent water spots. |
| Weekly | Clean with a gentle, non-abrasive cleaner. |
| Monthly | Inspect grout and apply a sealant if necessary. |
Use soft cloths and sponges to keep the tile’s shine.
The Final Checklist Before The Reveal
Before you unveil your masterpiece, ensure everything is up to par. Go through this checklist:
- Confirm tiles are clean: No smudges or grout haze.
- Test fixtures: All should work without leaks.
- Final touch-ups: Seal any gaps and polish surfaces.
Once everything is checked, your remodeled shower is ready to impress.
Frequently Asked Questions For How To Remodel A Shower With Tile
What Materials Are Needed For Tiling A Shower?
To tile a shower, essential materials include tiles, grout, thin-set mortar, a trowel, tile spacers, waterproofing membrane, a level, and a tile saw. These are the minimum tools and supplies necessary to ensure a successful tiling project.
How Long Does Shower Tile Installation Take?
Typically, tiling a shower can take between 2 to 3 days. This includes the time for properly setting the tiles and allowing the thin-set mortar and grout to cure. The size and complexity of the project can affect the duration.
Can You Tile Over Existing Shower Tiles?
It is possible to tile over existing shower tiles, but it’s crucial to ensure the existing tiles are well-bonded to the substrate. The surface should be clean, level, and scuff up to aid in adhesion.
What Is The Best Tile For Shower Walls?
Porcelain or ceramic tiles are popular choices for shower walls due to their durability and water resistance. Glass tiles are also desirable for their aesthetics, but make sure they are rated for shower use.
Conclusion
Remodeling your shower with tile transforms the space into a personal oasis. It’s a smart investment that boosts home value. Remember to choose durable tiles, plan the design, and seal everything properly. For DIY enthusiasts, it’s a rewarding project; for others, professional help ensures lasting beauty.
Begin your shower transformation journey today and enjoy the enduring benefits.


